BBST
BSST Team | ZWU
2024.6
3D printing, also known as stereoscopic printing or additive manufacturing,
is a technology that manufactures physical parts based on 3D CAD data
through the method of layer-by-layer material accumulation. The core
principle of this technique is to add materials layer by layer, transforming
the digital design into a physical object.
The Selective Laser Sintering (SLS) process was first proposed by
American Carl Deckard in 1989, and DTM Company launched the commercial
production equipment for this process in 1992.
Current research status of SLS technology:
DTM Company and 3D Systems Company in the United States, EOS Company in
Germany; Domestic companies such as Beijing Longyuan Automatic Forming
System Co., Ltd. and Huazhong University of Science and Technology. At
present, significant achievements have been made in RP molding systems,
SLS molding machines, metal powder research, sintering theory, scanning
paths, and other areas in China.
1.3D printer background
2.new application, new technology about material,machine,new paper
3.SLS 3D Printing
4.
Advantages and disadvantages of SLS process
Course → 3D Printing
https://mo.mbd.baidu.com/r/1lrqLZVTyqQ?f=cp&rs=3686669284&ruk=nkomwqMWdZ5oHqM2DexJvg&u=2700e6c310f8f402
Advantage:
-
Diversity of molding materials and low cost. This is the most prominent
feature of SLS. In theory, materials that can form atomic connections
between powders after laser heating can be used as SLS forming
materials. At present, commercialized materials mainly include plastic
powder, wax powder, coated metal powder, ceramic powder coated with
adhesive on the surface, coated sand, etc.
-
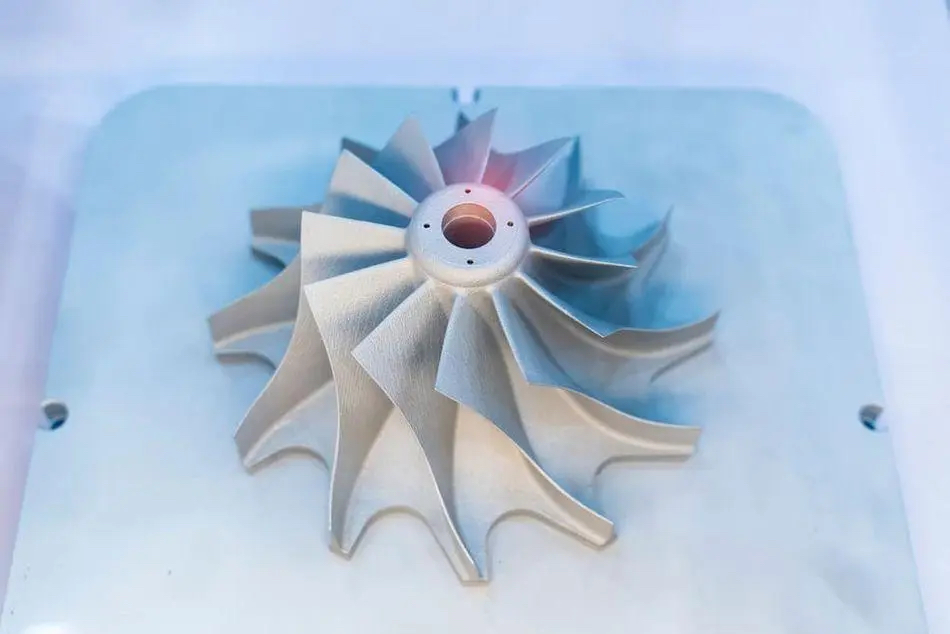
There are almost no requirements for the shape of the parts. Due to the
fact that the powder in the lower layer naturally becomes the support
for the upper layer, SLS has self-supporting properties and can
manufacture any complex shape, which many RP technologies do not
possess. Forming is not limited by the inability of traditional
machining tools to reach certain surfaces.
- High material utilization rate. Unsintered powder can be reused.
-
The parts have good mechanical properties. The finished product can be
directly used for functional testing or small batch use.
-
Realize integrated design and manufacturing. The supporting software can
automatically convert CAD data into layered STL data, generate CNC codes
based on layer information, and drive the forming machine to complete
layer by layer processing and stacking of materials without human
intervention.
- The equipment cost is high.
-
The interior of the product is loose and porous, with high surface
roughness and low mechanical properties.
-
The quality of the parts is greatly affected by the powder, making it
difficult to improve.
- The maximum size of parts that can be manufactured is limited.
-
The molding process consumes a lot of energy and the post-processing
process is complex.
Disadvantage:
Materials:
There are many materials for 3D printing, including plastics, metals,
ceramics, gypsum, and even biomaterials. Which material you choose
depends on the functional and performance needs of the object you are
printing on. For example, plastics are commonly used to print models and
prototypes, while metals are often used to print structural parts.
Machines:
There are many types of 3D printers, including fused deposition modeling
(FDM) printers, stereolithography (SLA) printers, selective laser
sintering (SLS) printers, etc. Different types of printers are suitable
for different applications, such as FDM printers are often used to print
plastic parts, and SLS printers are often used to print metal parts.
New applications:
With the development of 3D printing technology, its application fields
are also expanding. For example, in the medical field, customized
prosthetics and medical devices can be printed; In the field of
construction, complex building components can be printed; In the field
of art, it is possible to print beautiful works of art.
New technologies:
3D printing technology is also constantly evolving and innovating. For
example, 4D printing is an emerging technology that can print objects
that change shape over time. In addition, multi-material 3D printing is
also a research hotspot, which can print multiple materials in the same
object to achieve more complex functions and properties.
Refrence:
http://pfxbzlx.gdvdc.com/CN/10.3969/j.issn.1674-8468.2023.04.014
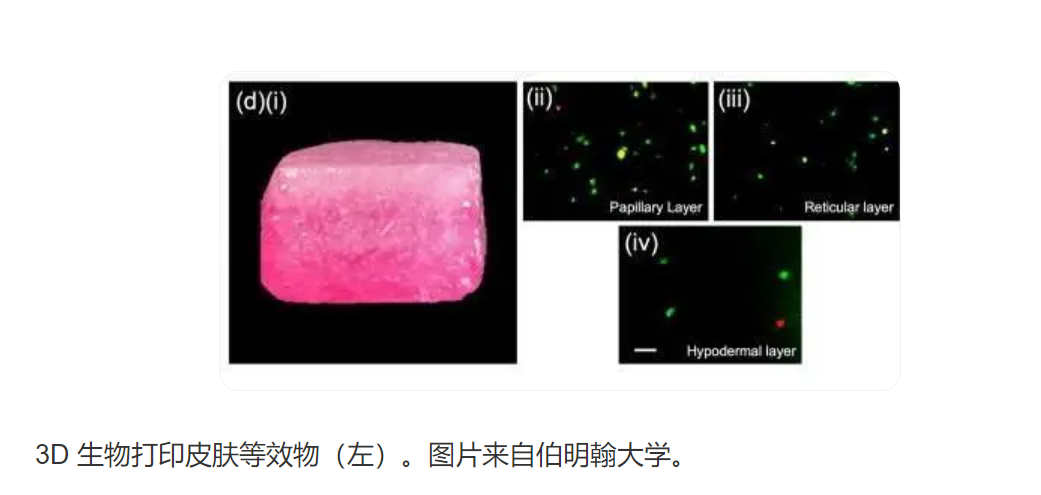
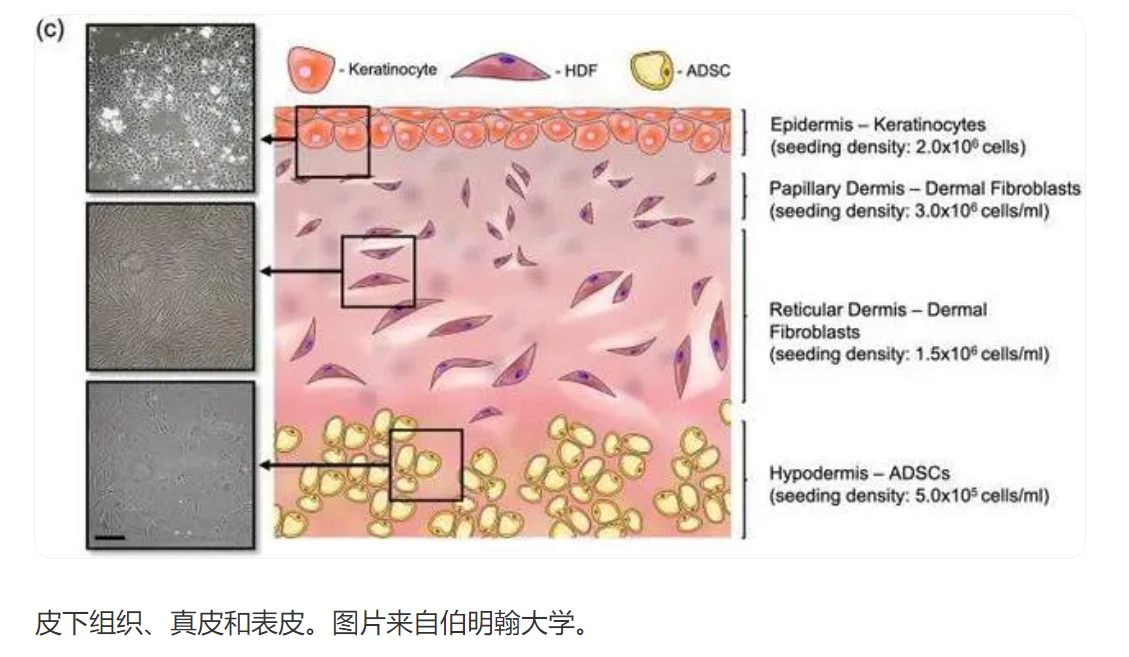
printing has significant application potential in the field of skin
repair. Researchers can maximize skin activity and other natural
properties by integrating different extracellular matrices into skin 3D
printing technology, thereby achieving effective repair of damaged skin
and fusion with normal skin. In addition, for patients with severe skin
burns caused by fires, 3D printing technology can quickly and accurately
print materials containing skin cells, construct biomimetic skin
structures, thereby shortening the treatment cycle and reducing
postoperative scars.
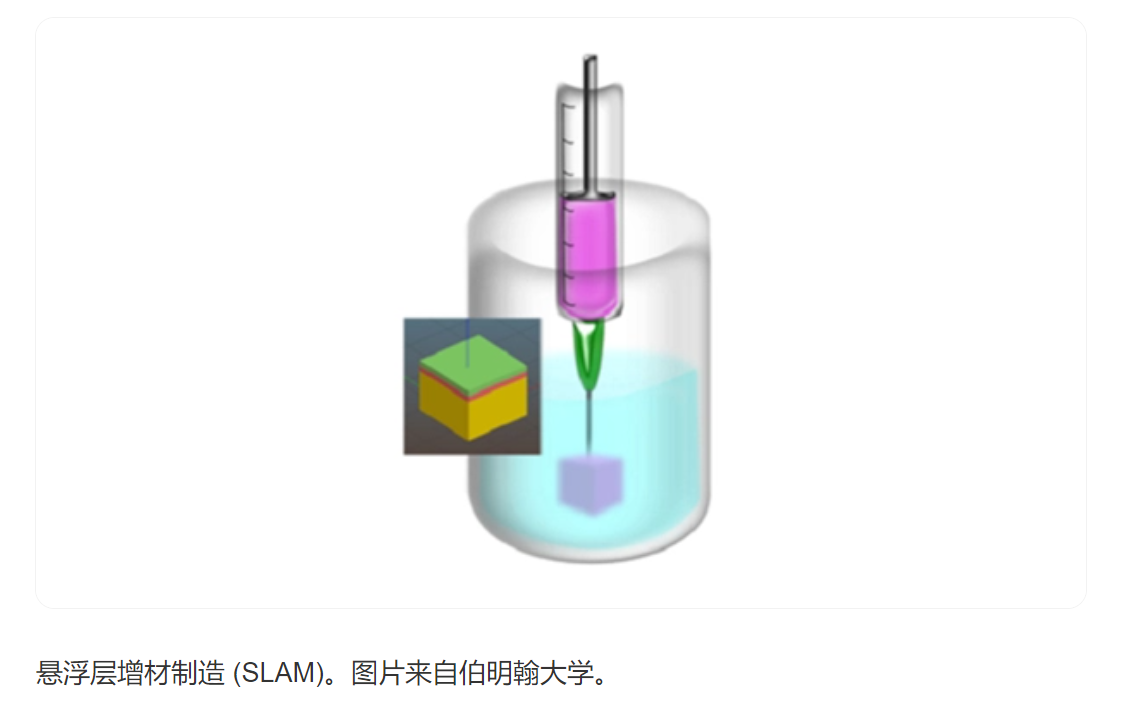
Application of in situ skin bioprinting
-
In situ skin bioprinting utilizes inkjet bioprinting technology, which
uses handheld devices or robot automation systems to directly print
cell filled bioprinting onto the human wound site [6]. This
bioprinting method can print concentrated skin cell suspensions onto
wounds to accelerate their healing. Hakimi et al. [14] developed a
handheld 3D in situ bioprinter that can be directly printed in mouse
and pig wound models, with cells forming skin patches in situ on the
wound. Albanna et al. [6] used portable inkjet bioprinters and laser
bioprinters to print high-density suspensions of human fibroblasts and
keratinocytes onto full-thickness skin excised wounds in experimental
mice using fibrin collagen bioprinters. The skin structure printed on
the wound retains a high cell density, and for up to 6 weeks after
printing, human cells can also be observed in the tissue. Compared to
untreated and cell-free grafts, direct in situ skin 3D bioprinting
therapy leads to faster wound healing.
-
Skardal et al. [7] also evaluated the role of stem cell-derived seed
cells in wound healing by using a robotic inkjet bioprinter to
directly print amniotic fluid derived stem cells (AFSC) and fibrin
collagen bioprinters carrying bone marrow mesenchymal stem cells
(BM-MSCs) onto the wounds of mice undergoing full layer skin
resection. Compared with the pure gel control group, the mice treated
with AFSCs and BM MSCs had faster wound closure and epidermal
formation. In another experiment to regulate paracrine activity at the
wound site, Skardal et al. [7] printed heparin coupled hyaluronic acid
hydrogel containing AFSCs directly on the wound of full-thickness skin
resection. The hydrogel can isolate the cytokines secreted by AFSC in
situ, extend paracrine activity, and make the full-thickness wound
faster closed and vascularized. The main advantage of in situ
bioprinting is the ability to layer cell ink based on the precise
shape of the wound, making it particularly suitable for treating
irregularly
5.find new reseach or application
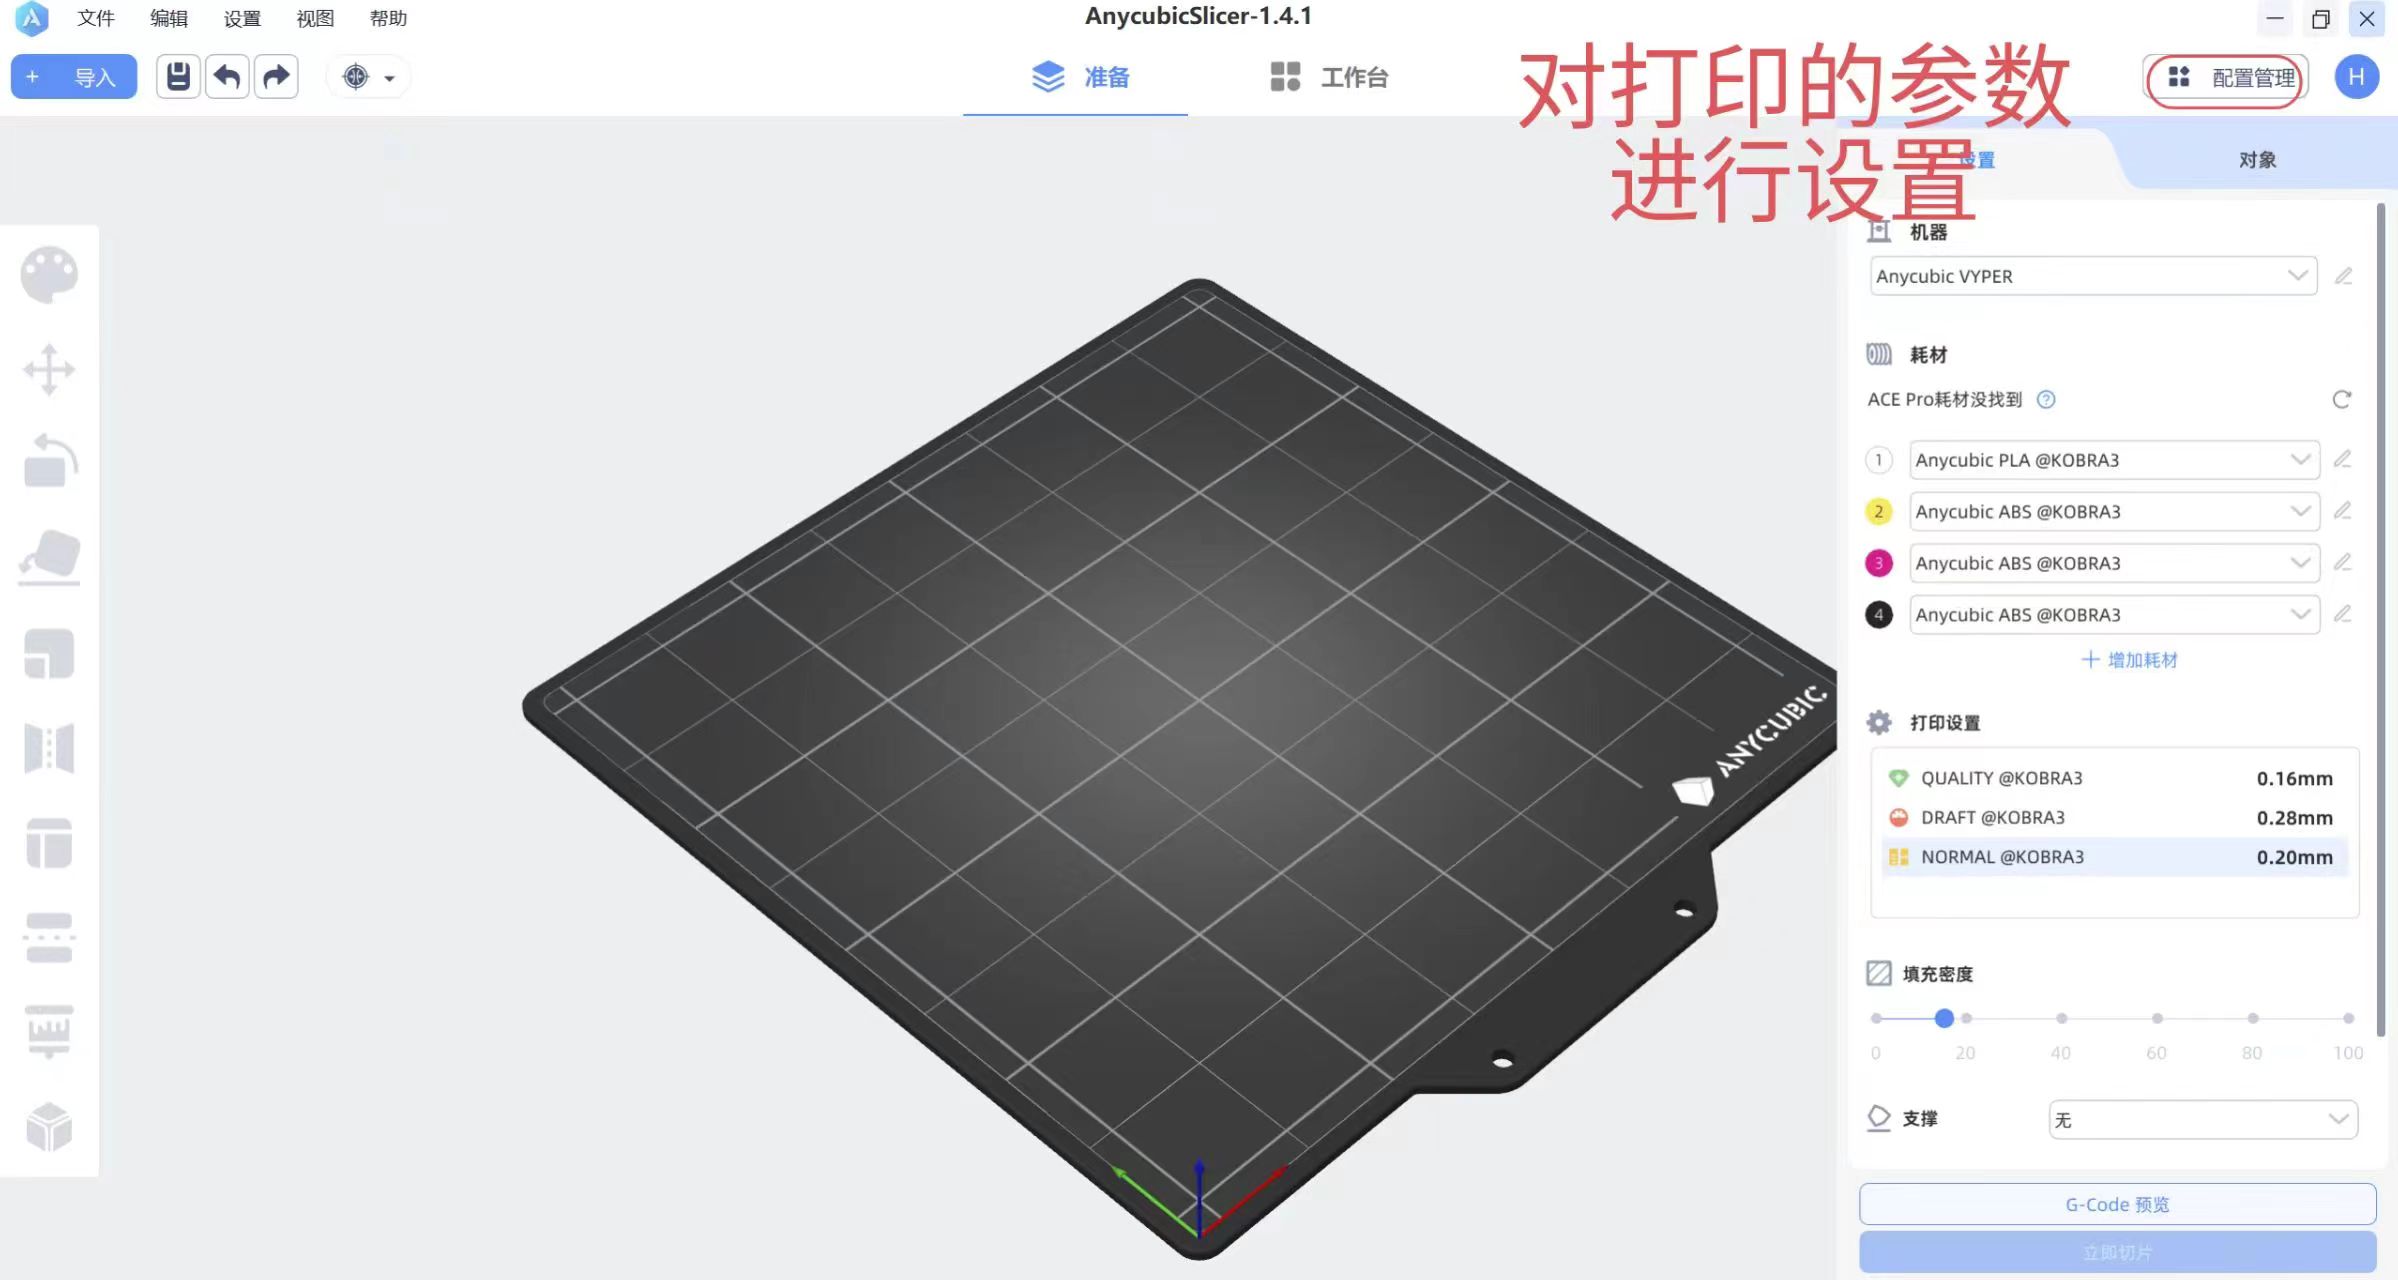
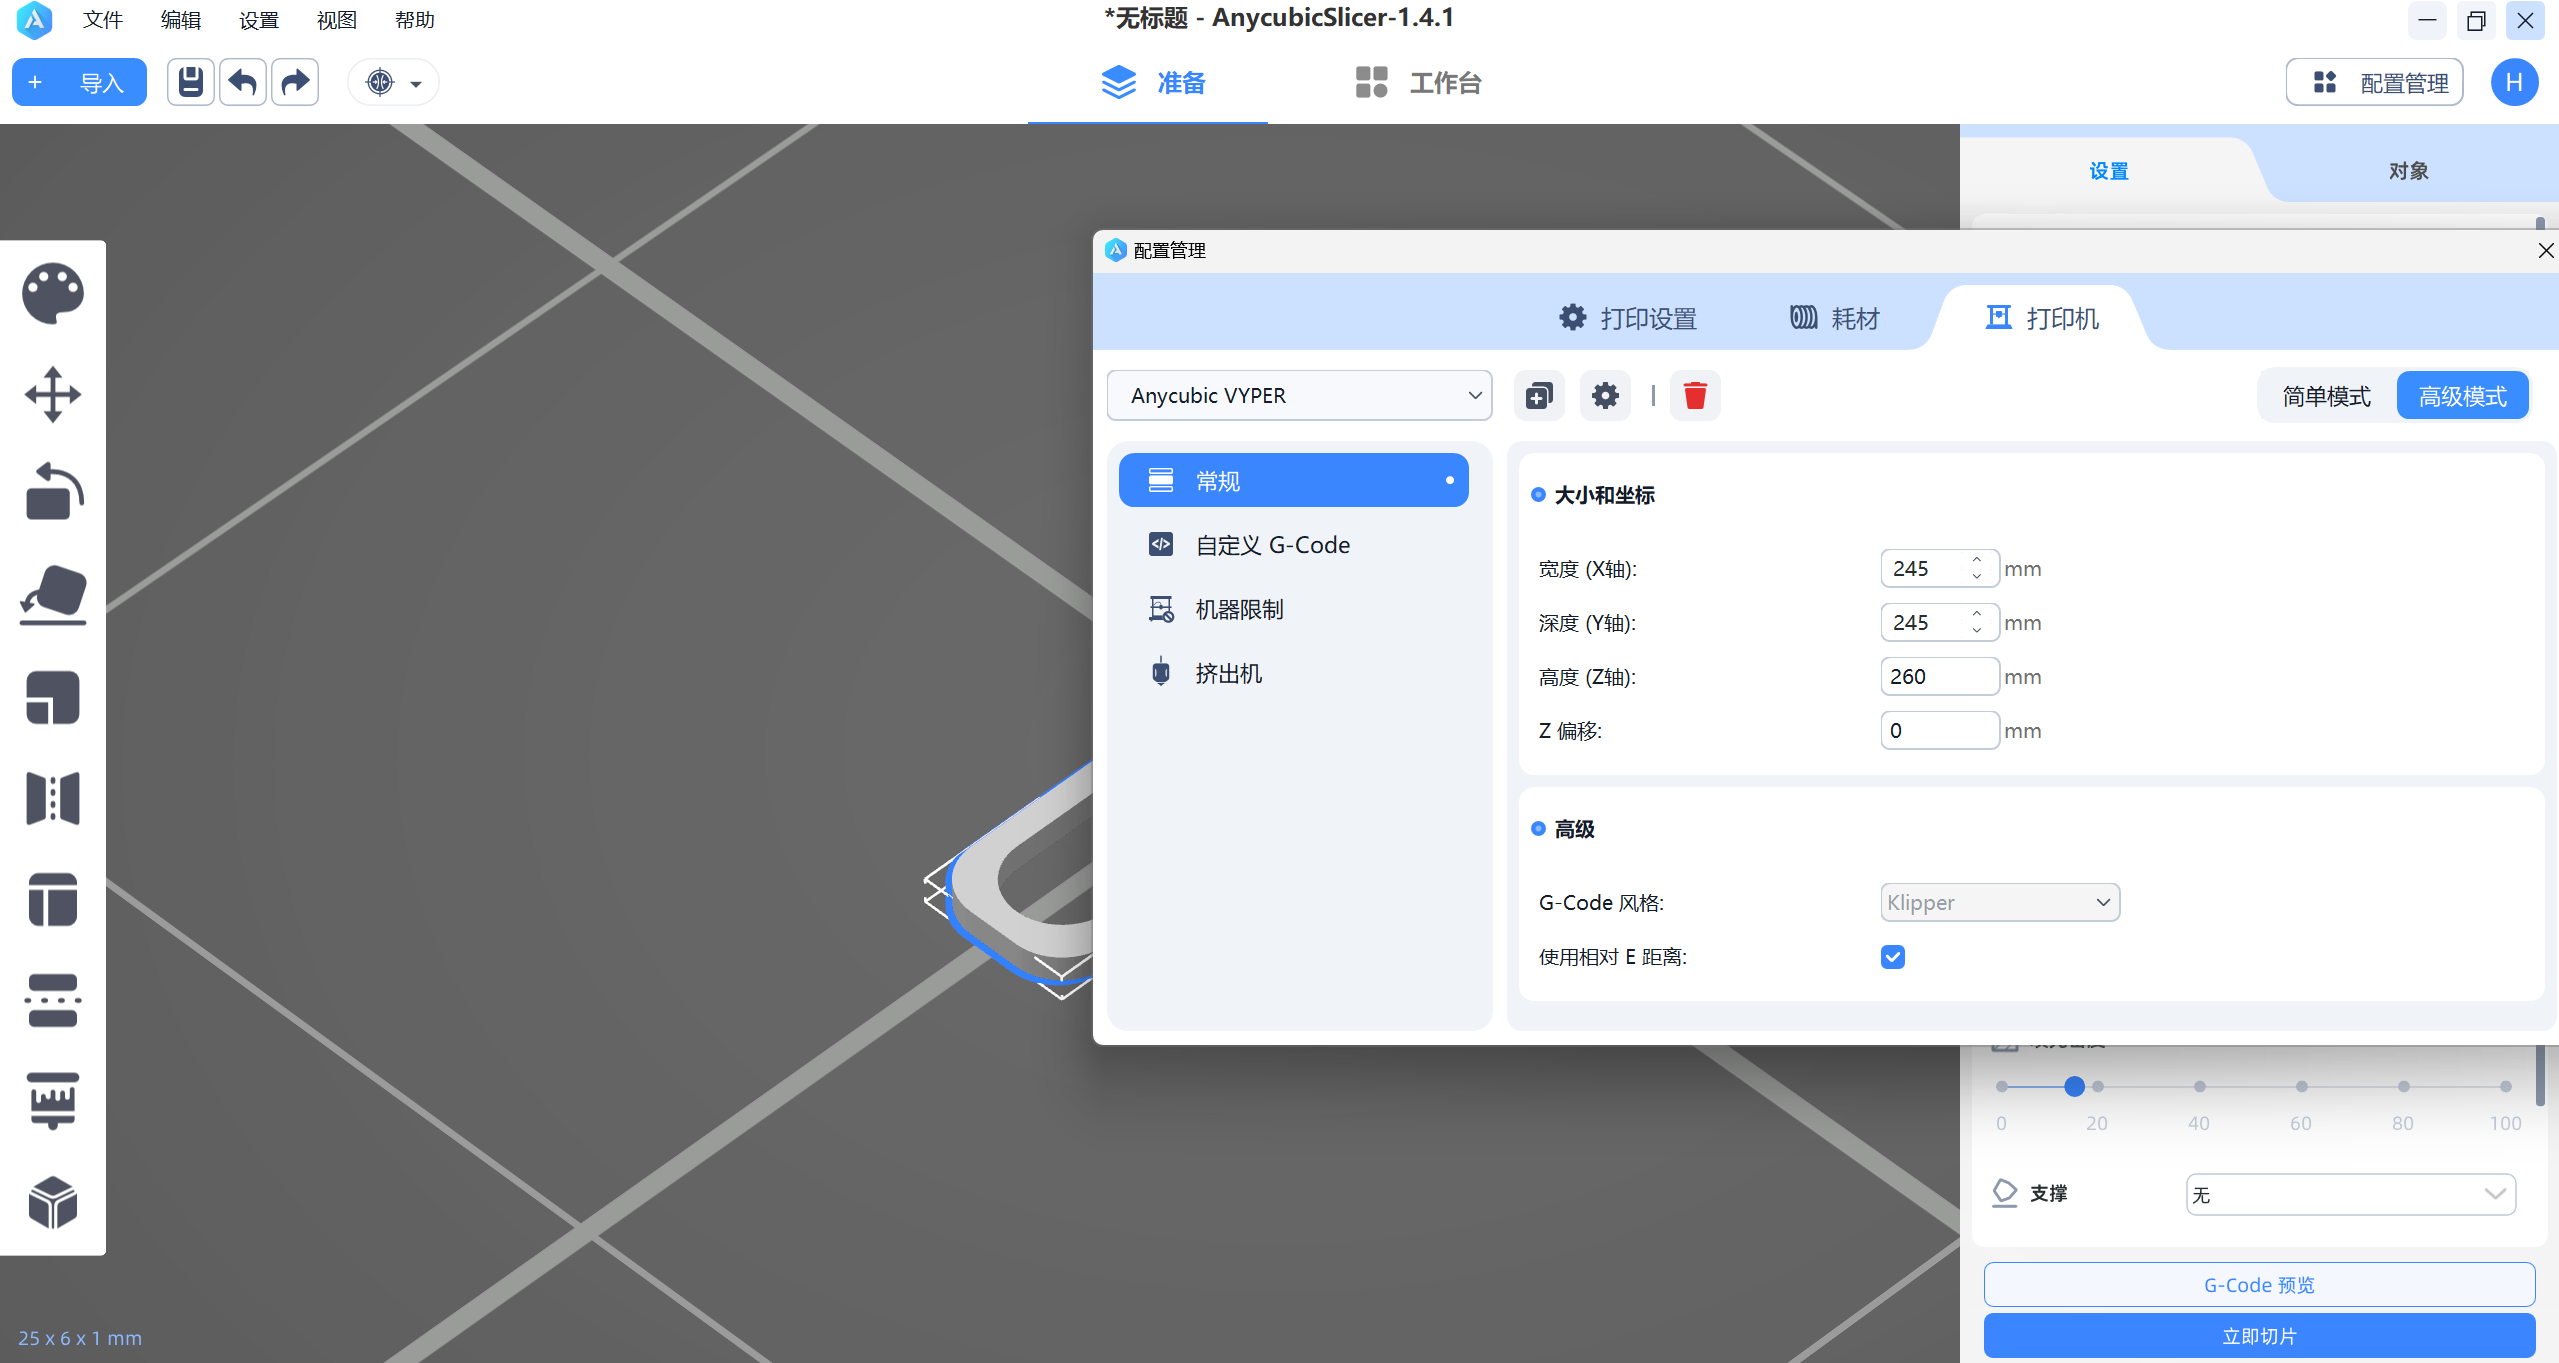
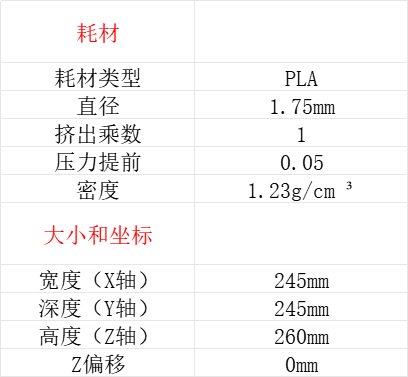
6.Use slice software to setting parameter
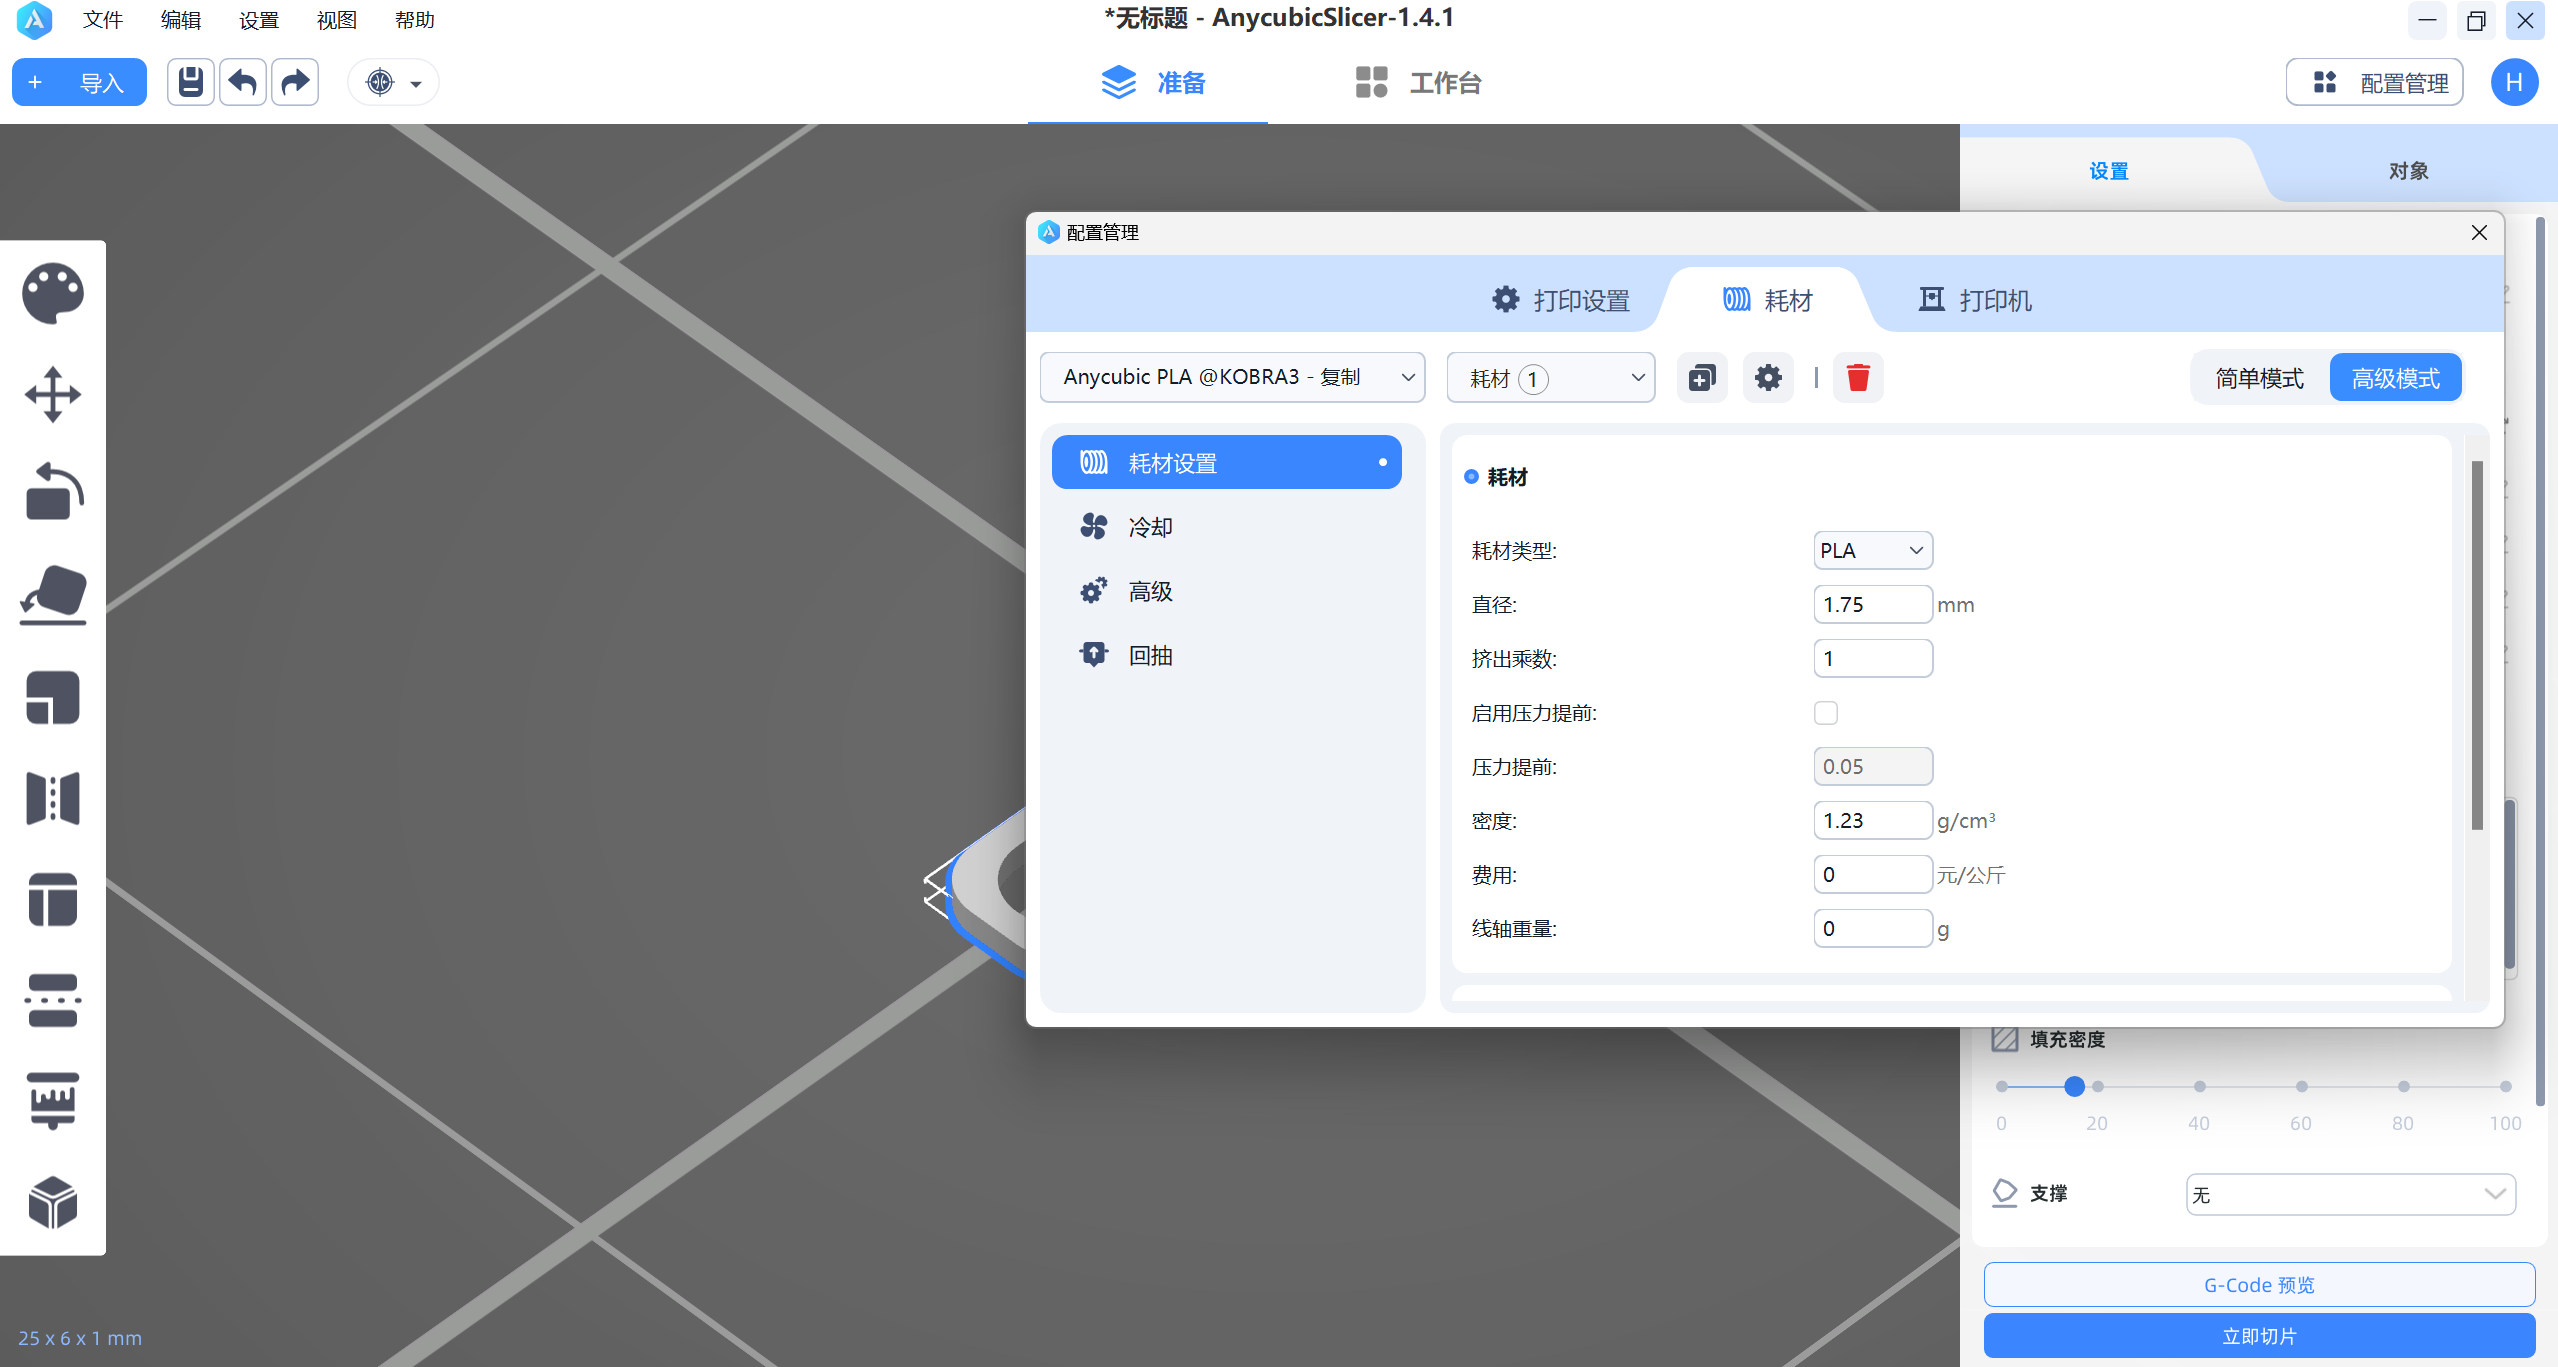
Use the tools on the left to sketch.
Constrain sketches through "sketch dimensions" and the right
toolbar.
The sketch line before constraint is blue, and the sketch line after
constraint is black.
Parts can be constrained by labelling the size.The shortcut key is
CapsLK plus D.
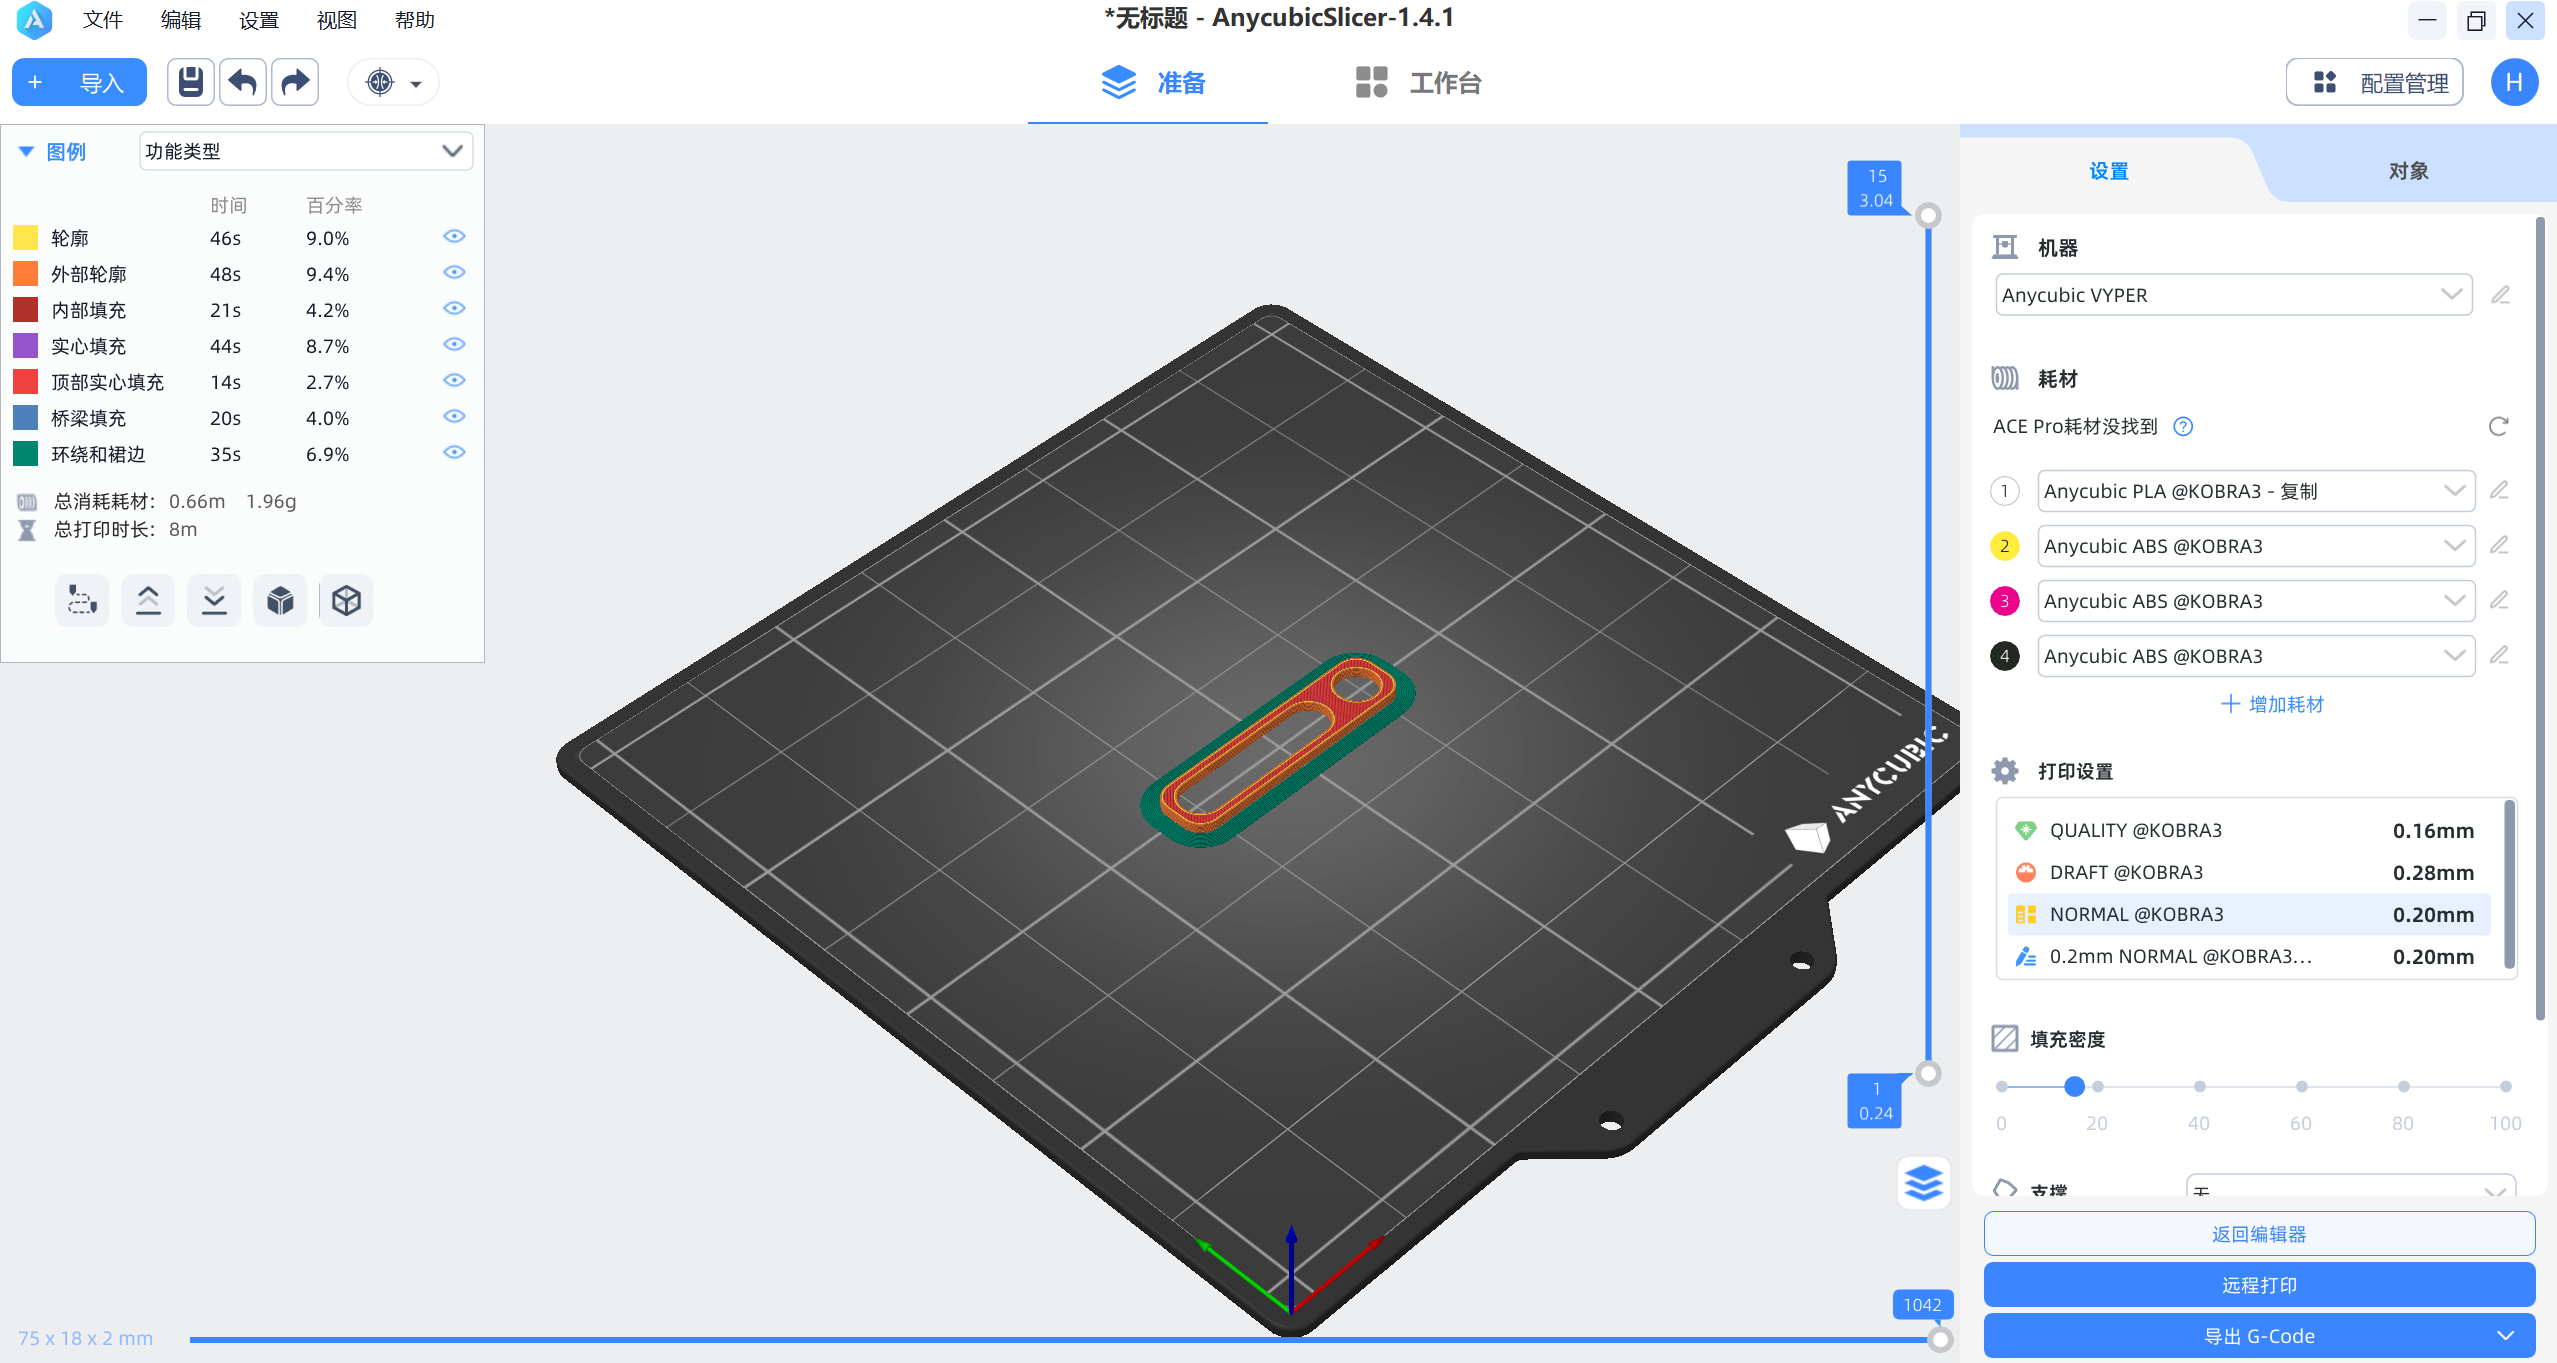
7.Use 3D printer to manufacture it

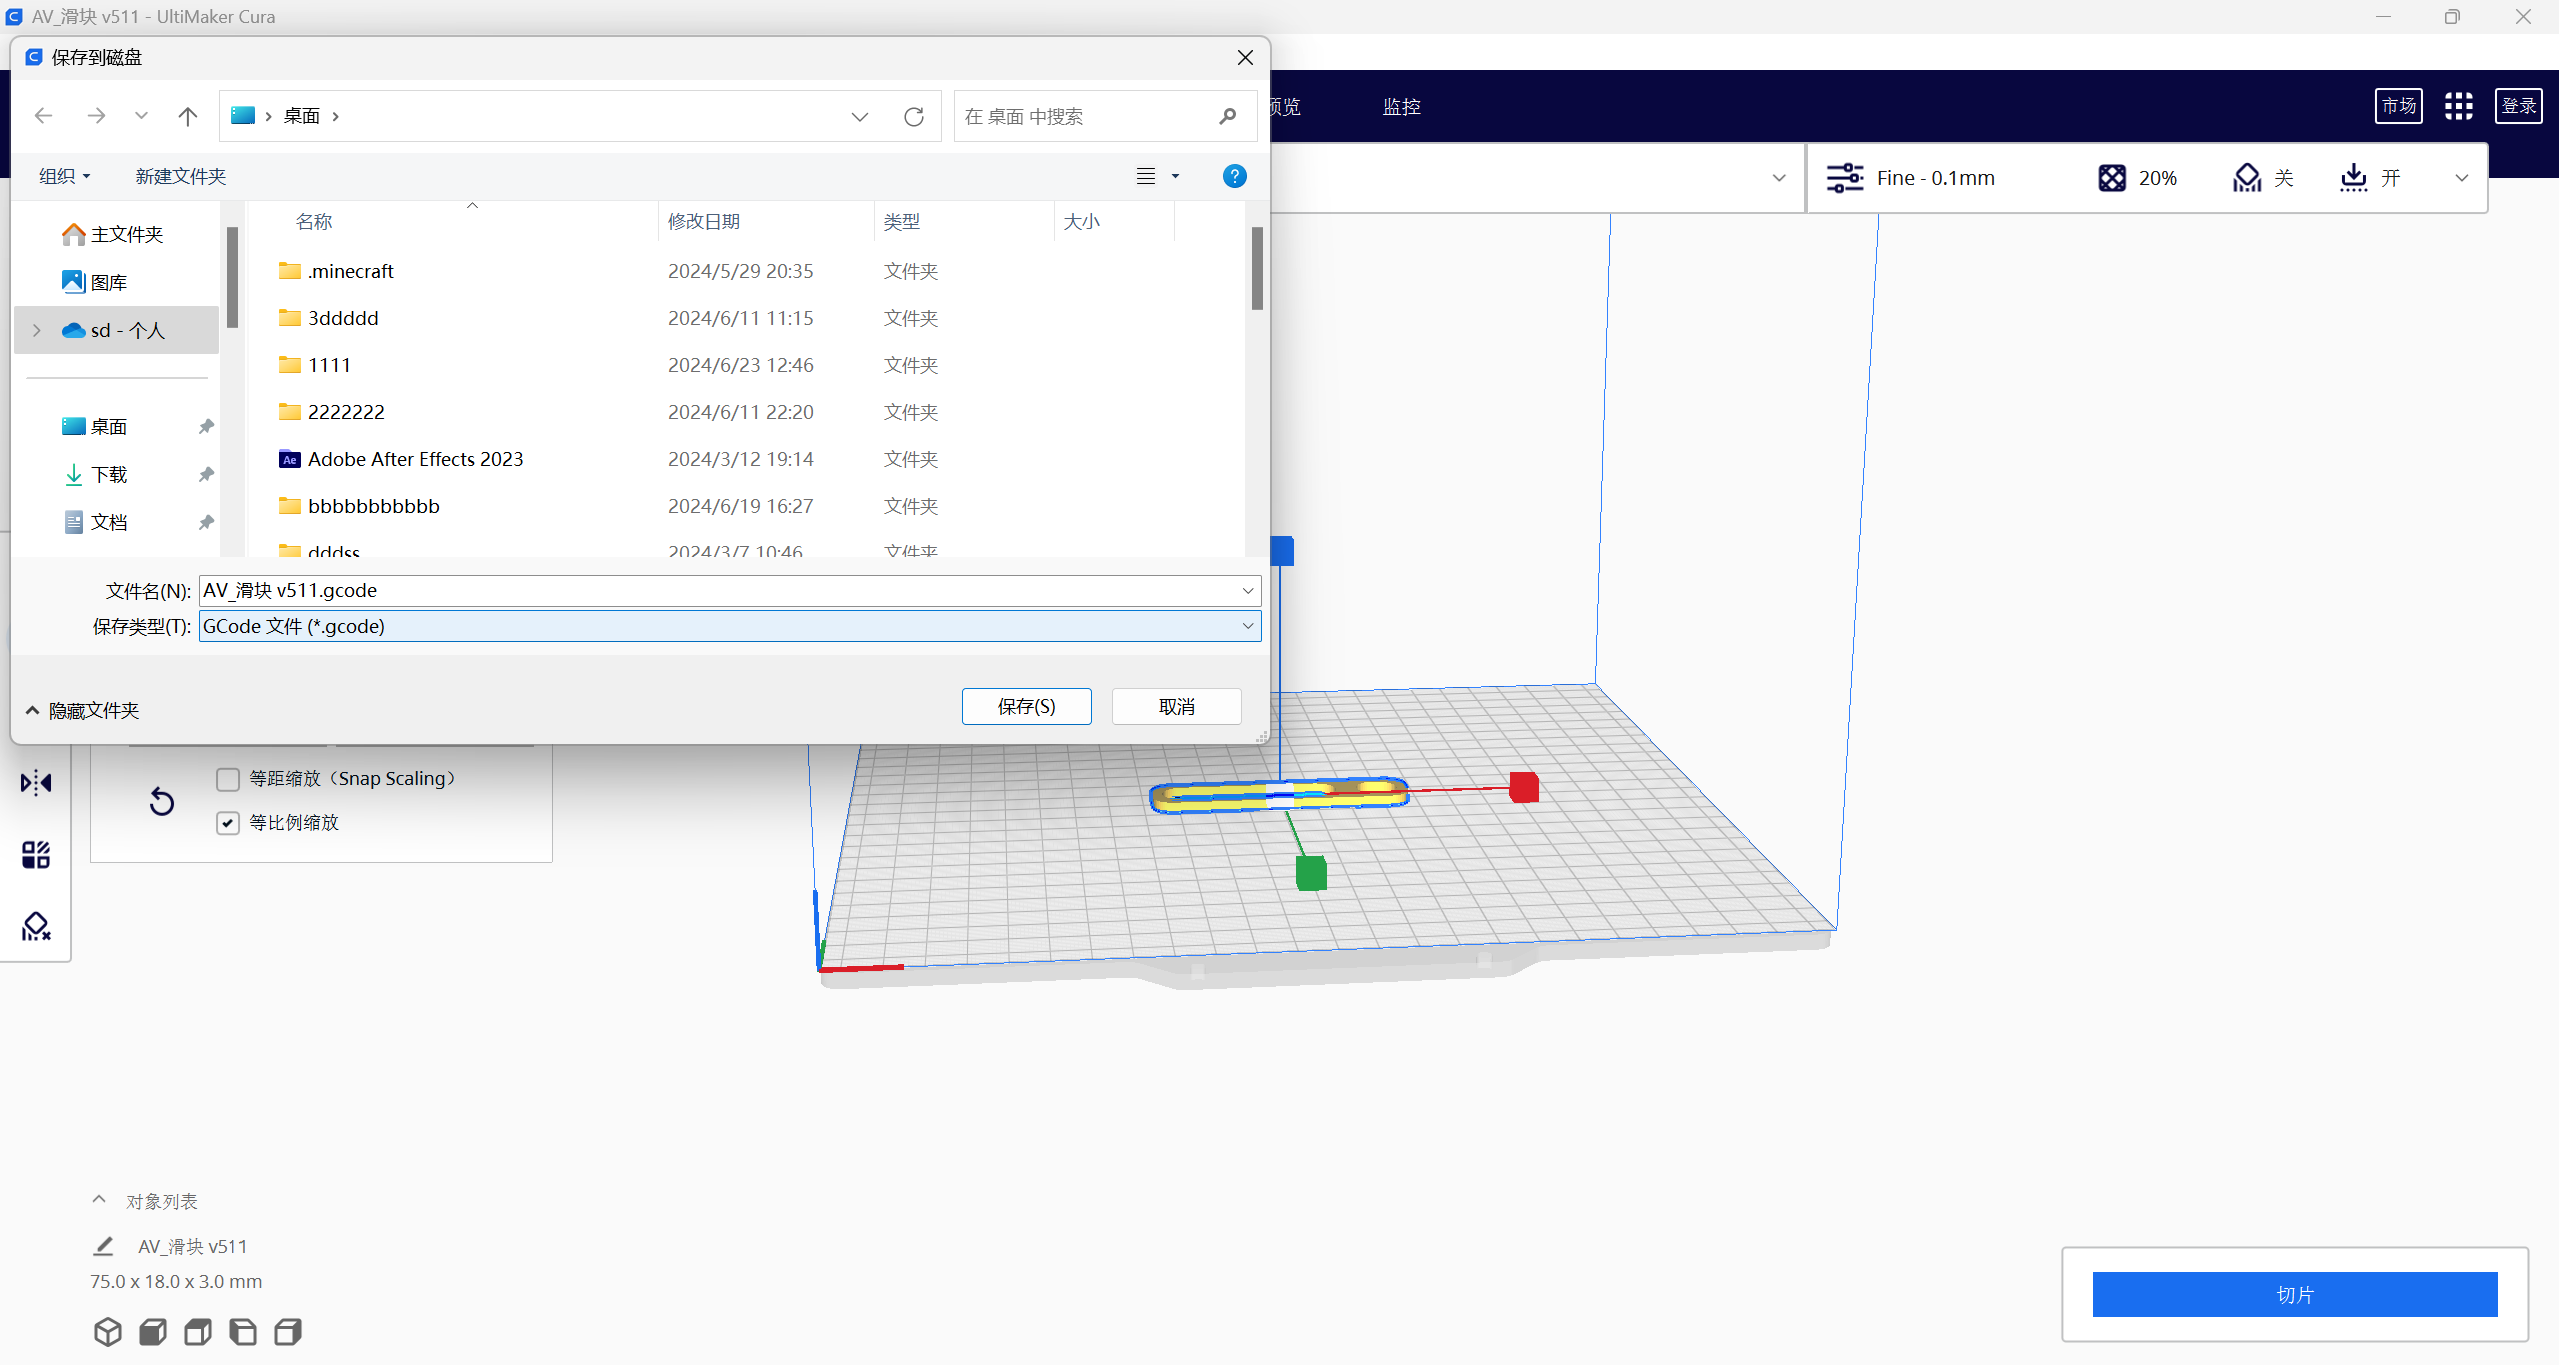
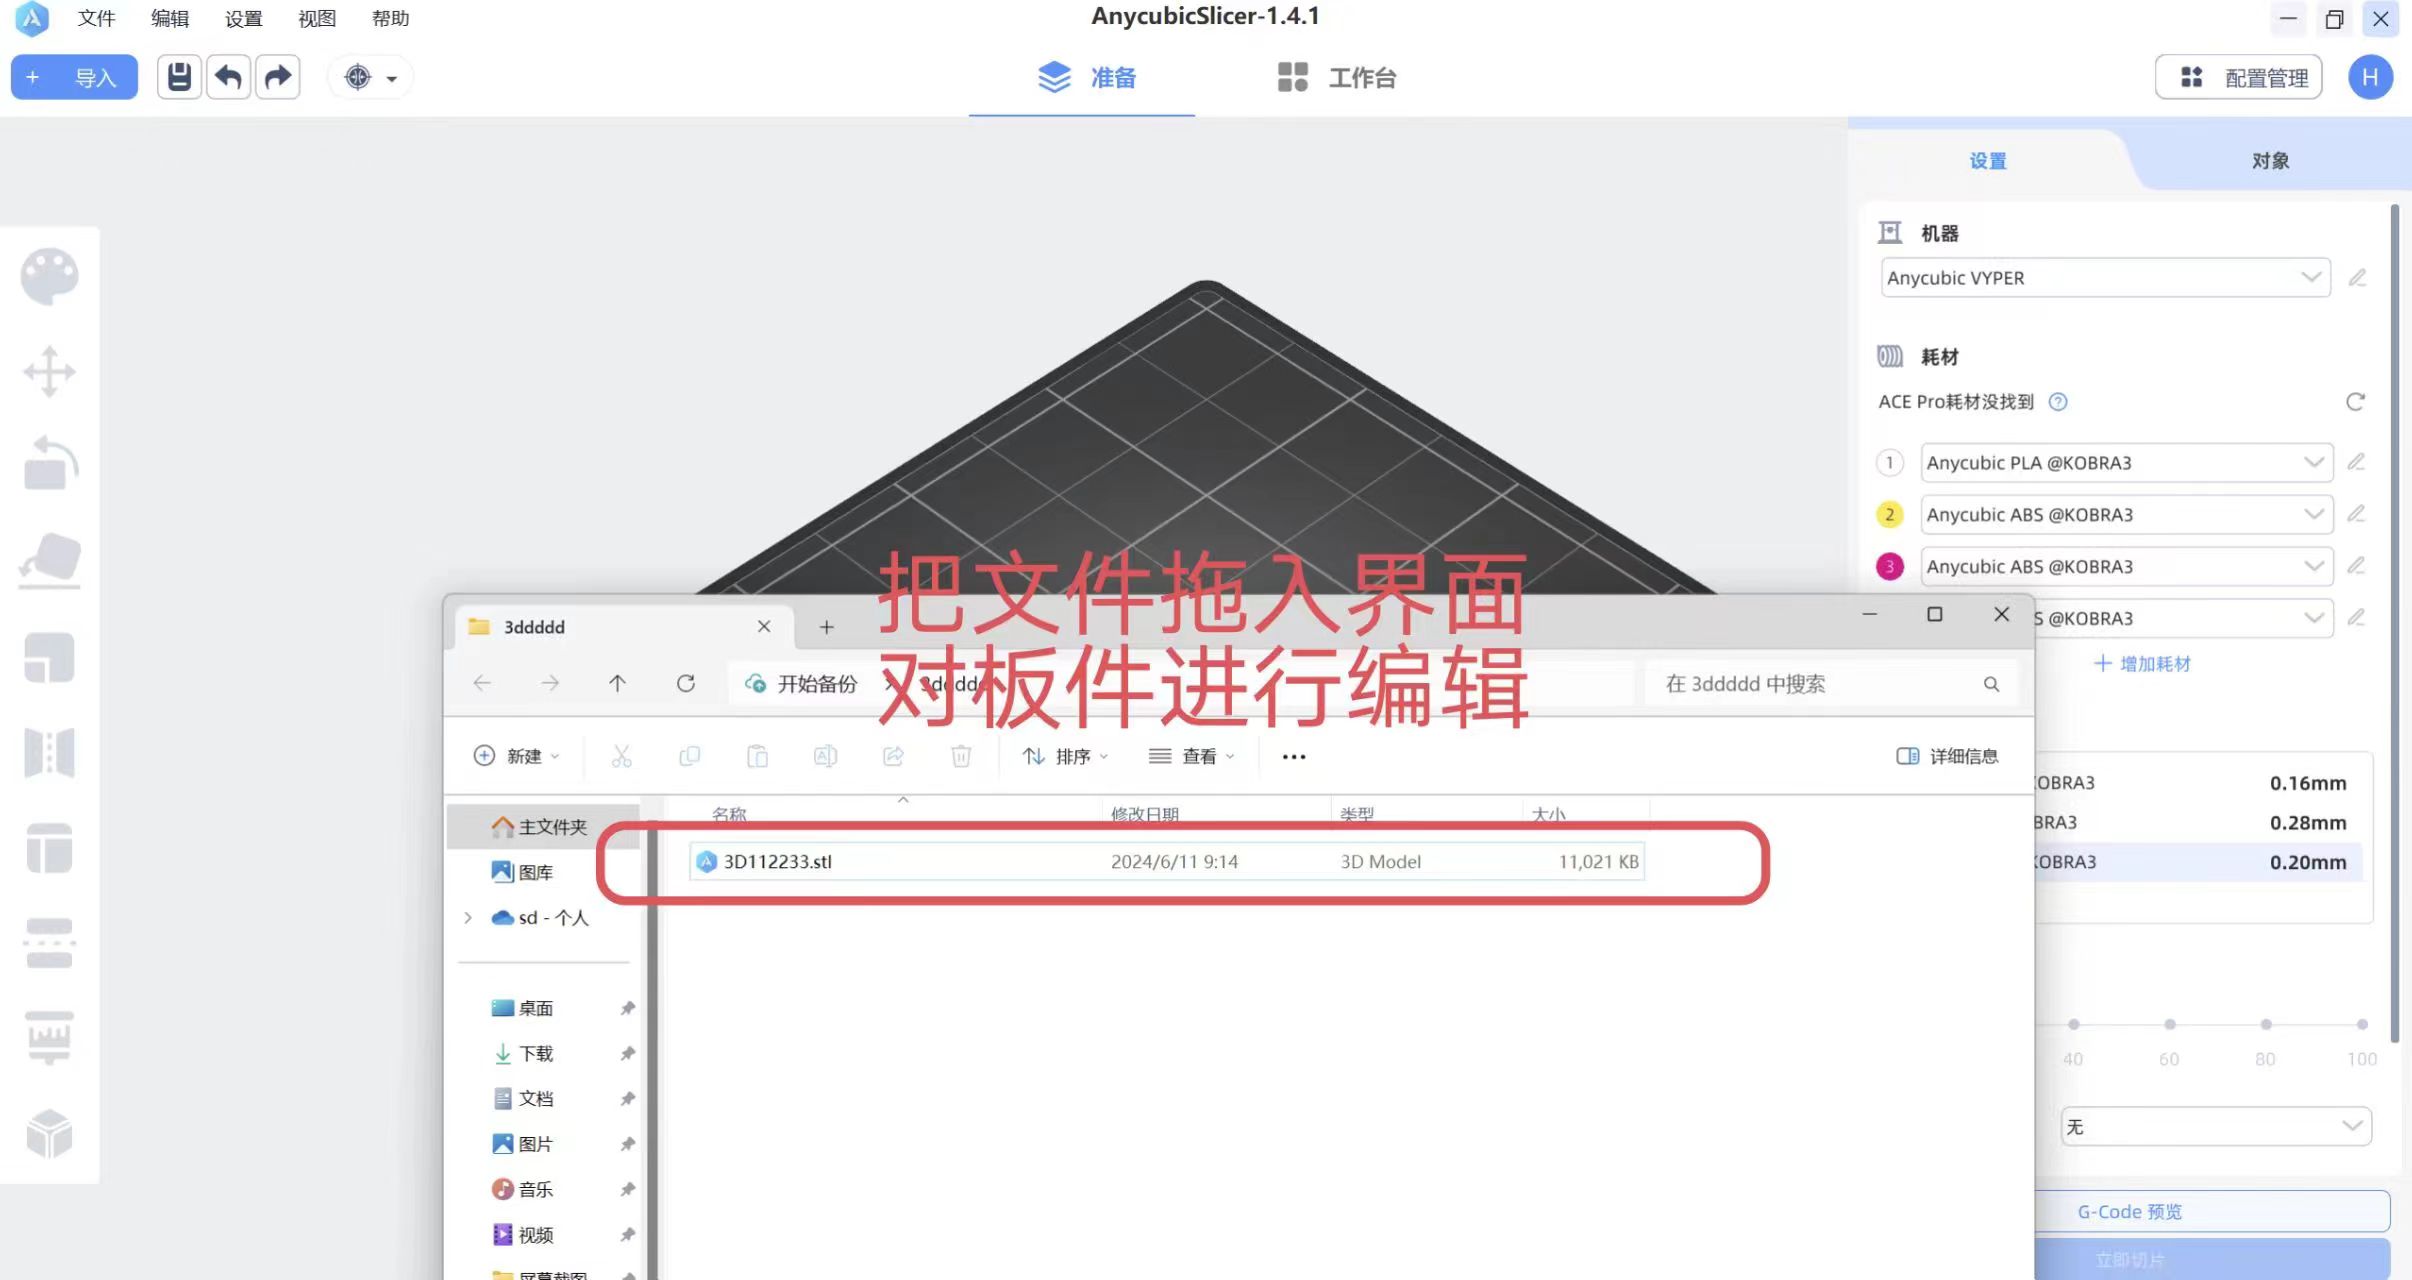
1.Drag the exported stl of Anycubic Slicer after modifying parameters into
UltiMaker Cura.
2.Export as gcode after slicing
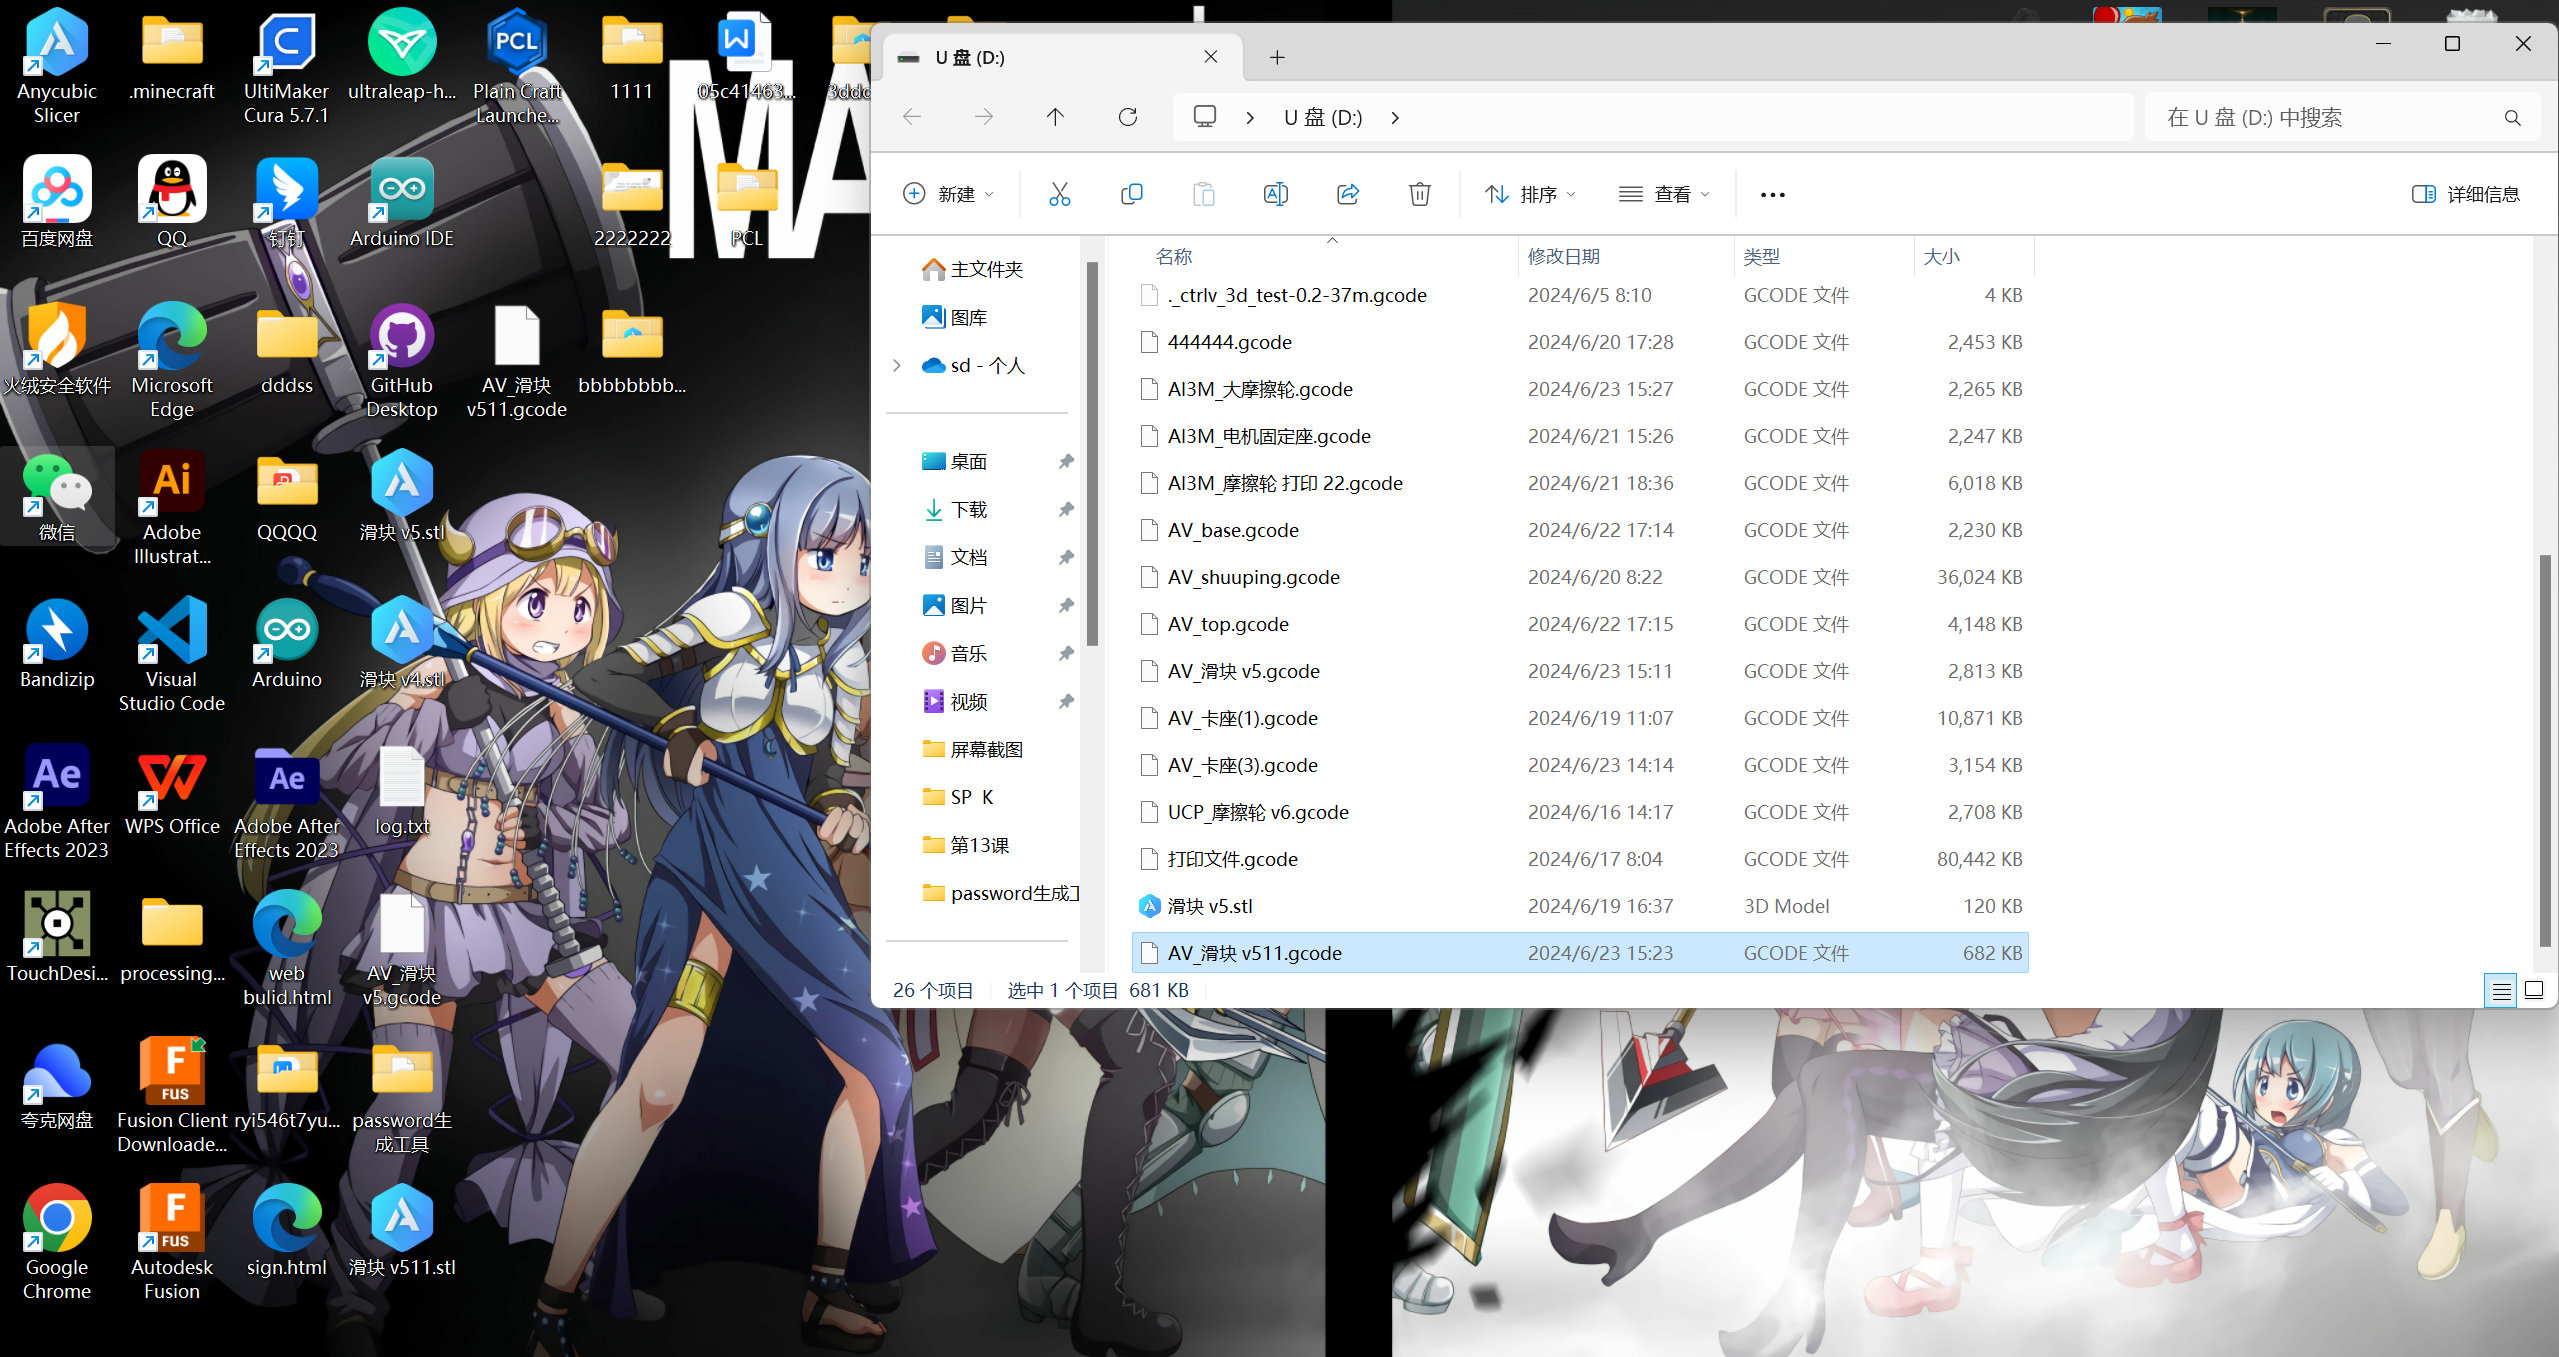
3. Drag the gcode file into the USB drive.
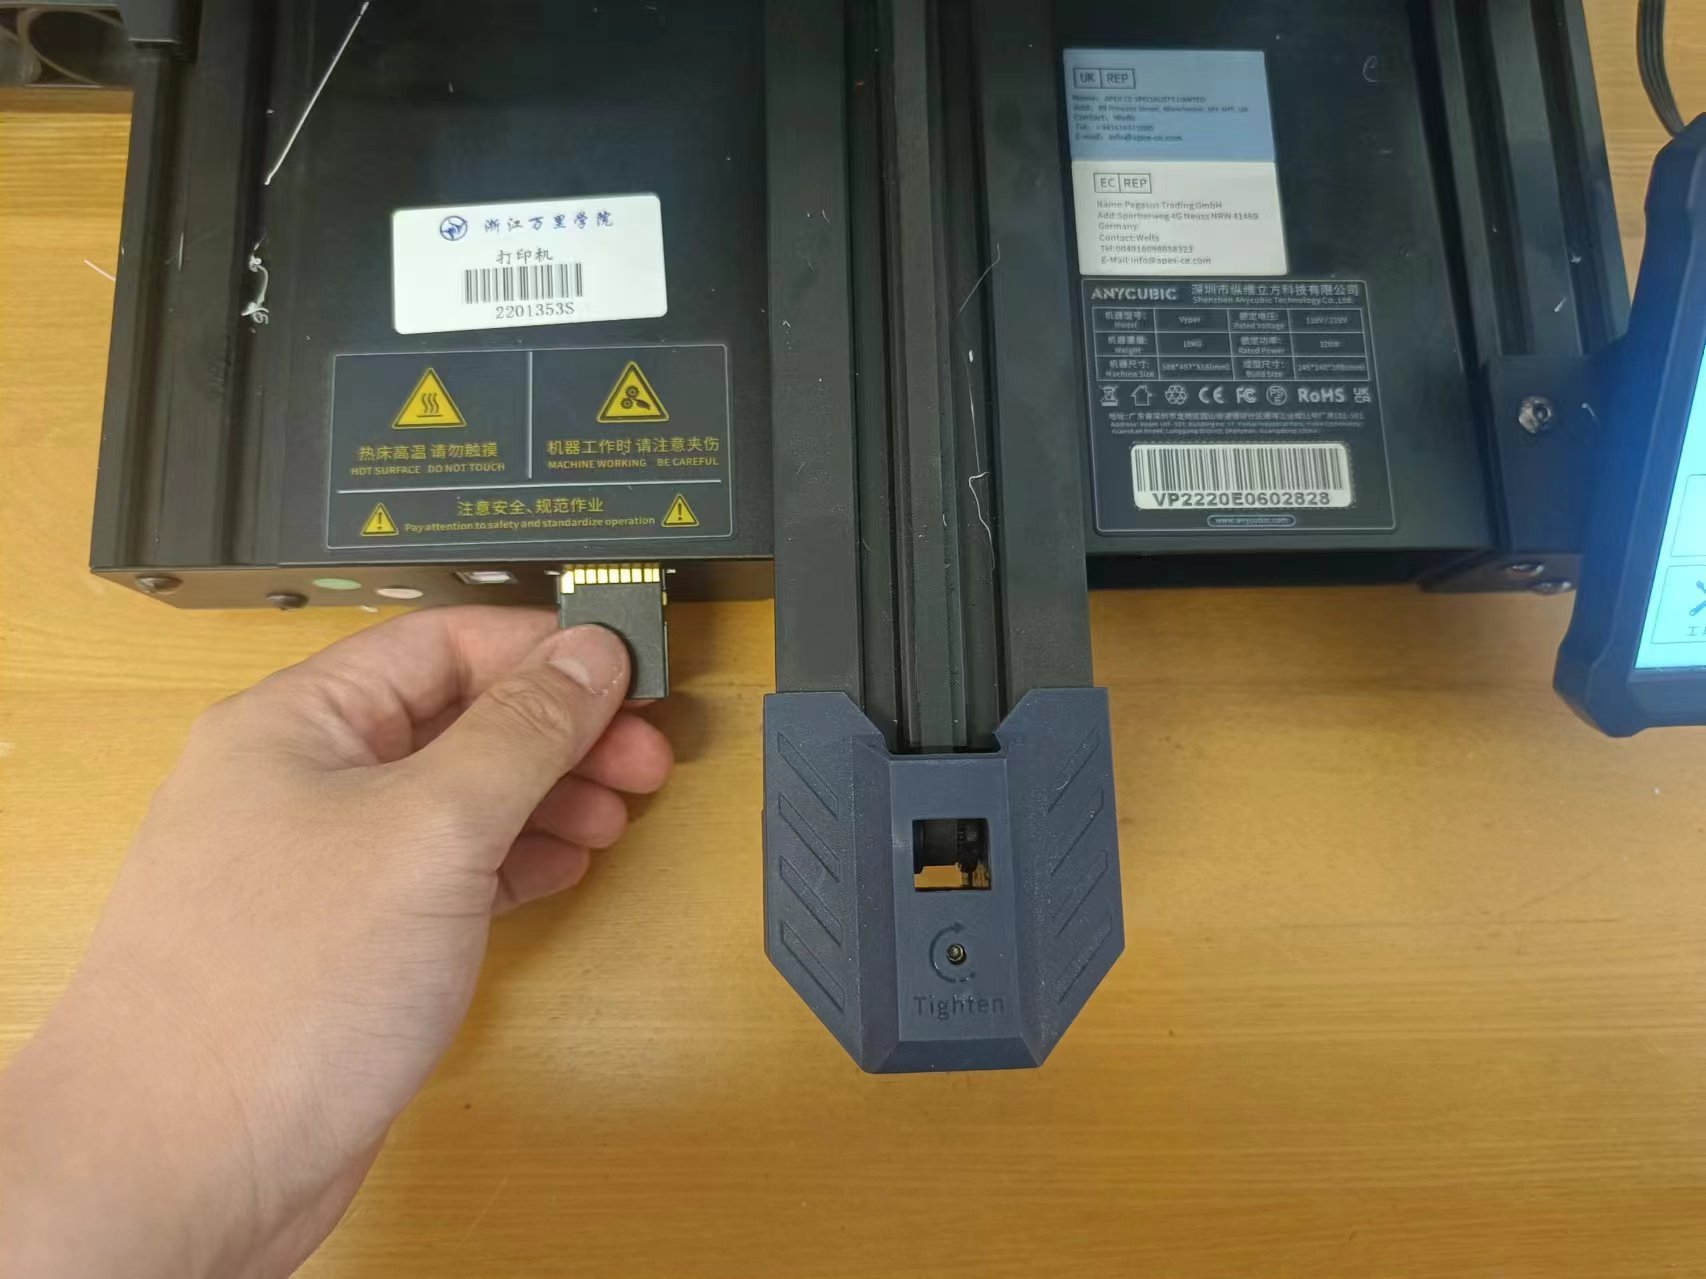
4.Insert the USB drive into the 3D printer
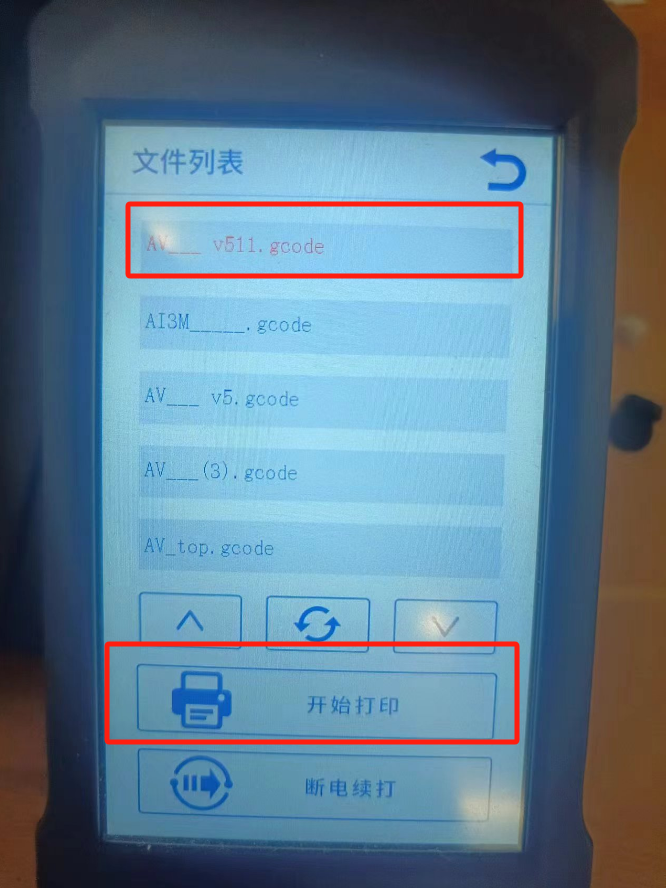
5. Find the file (
the latest file is usually in the first place
) and start printing
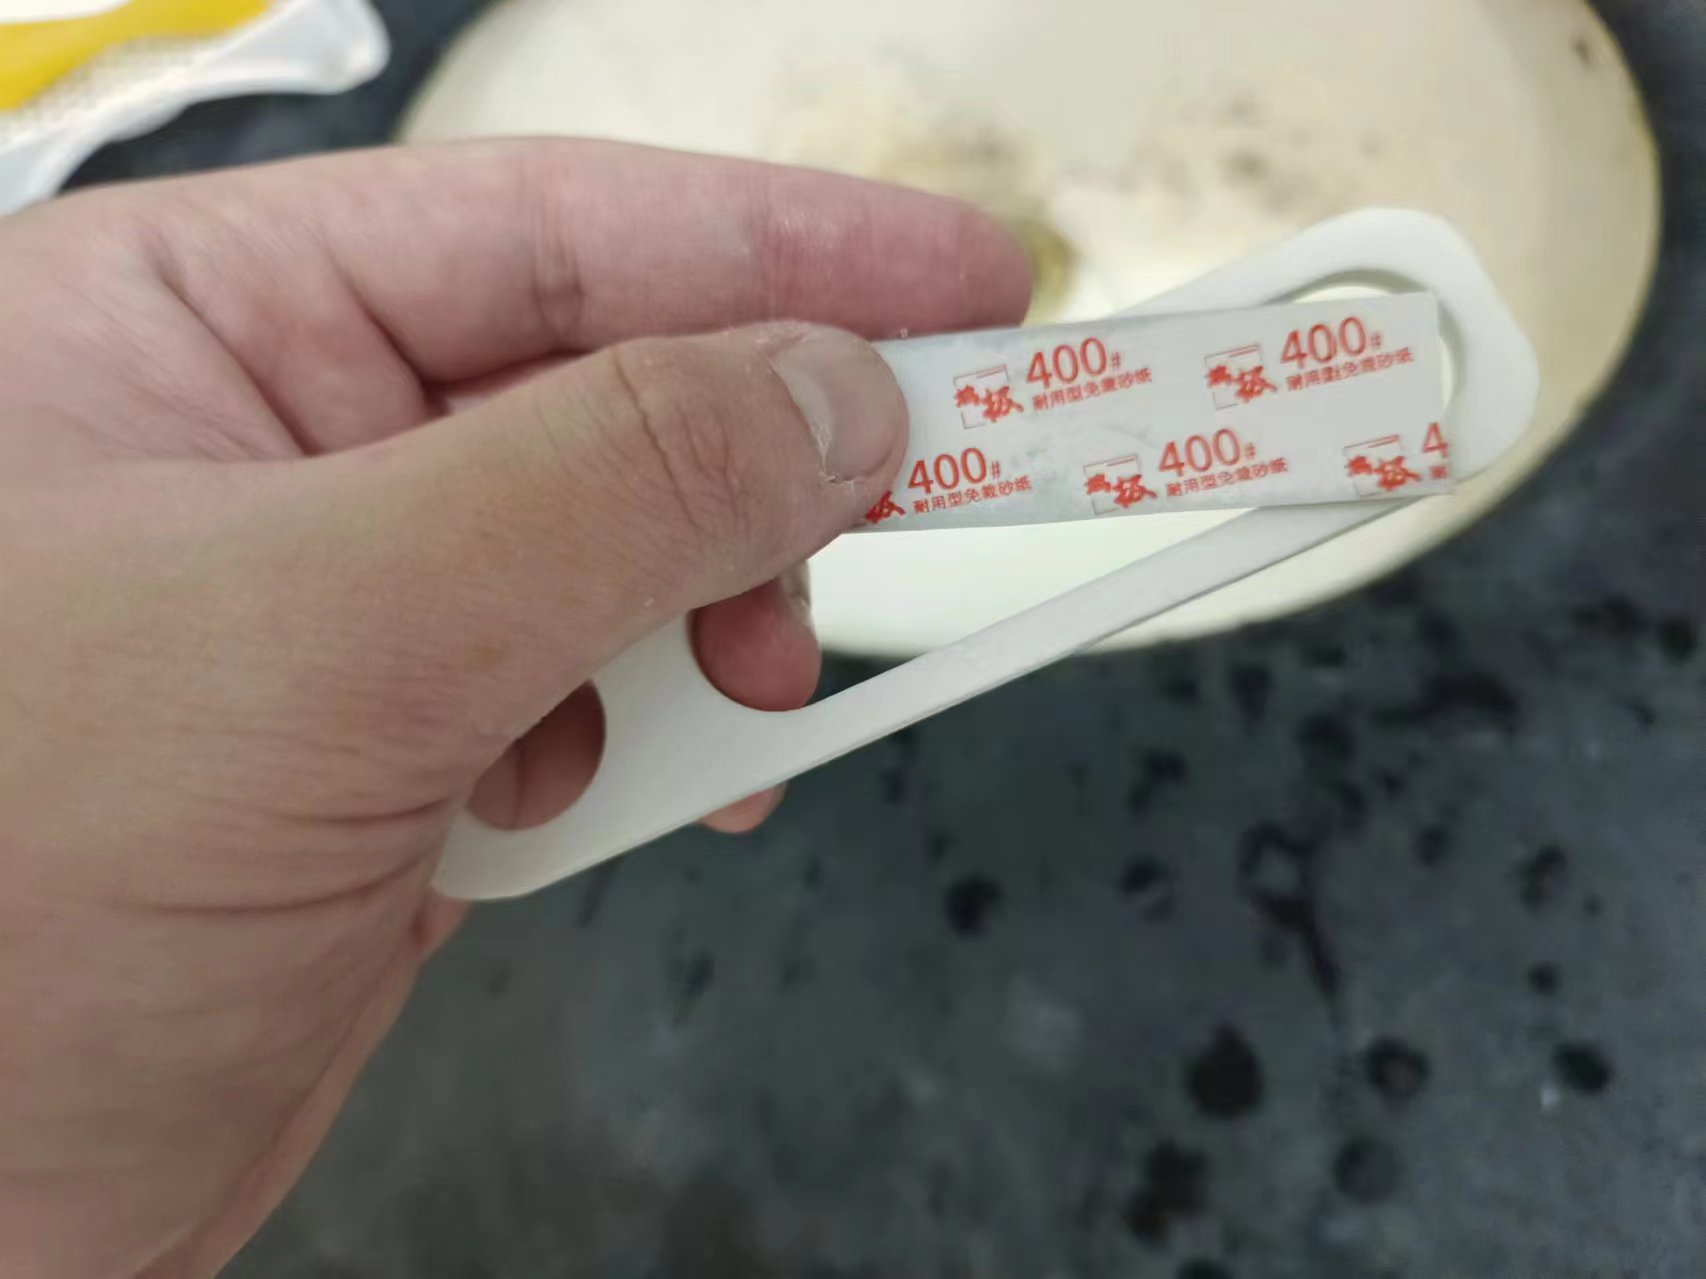
2.Sandpaper soaked in wet and polished
400-eye rough repair of the muse
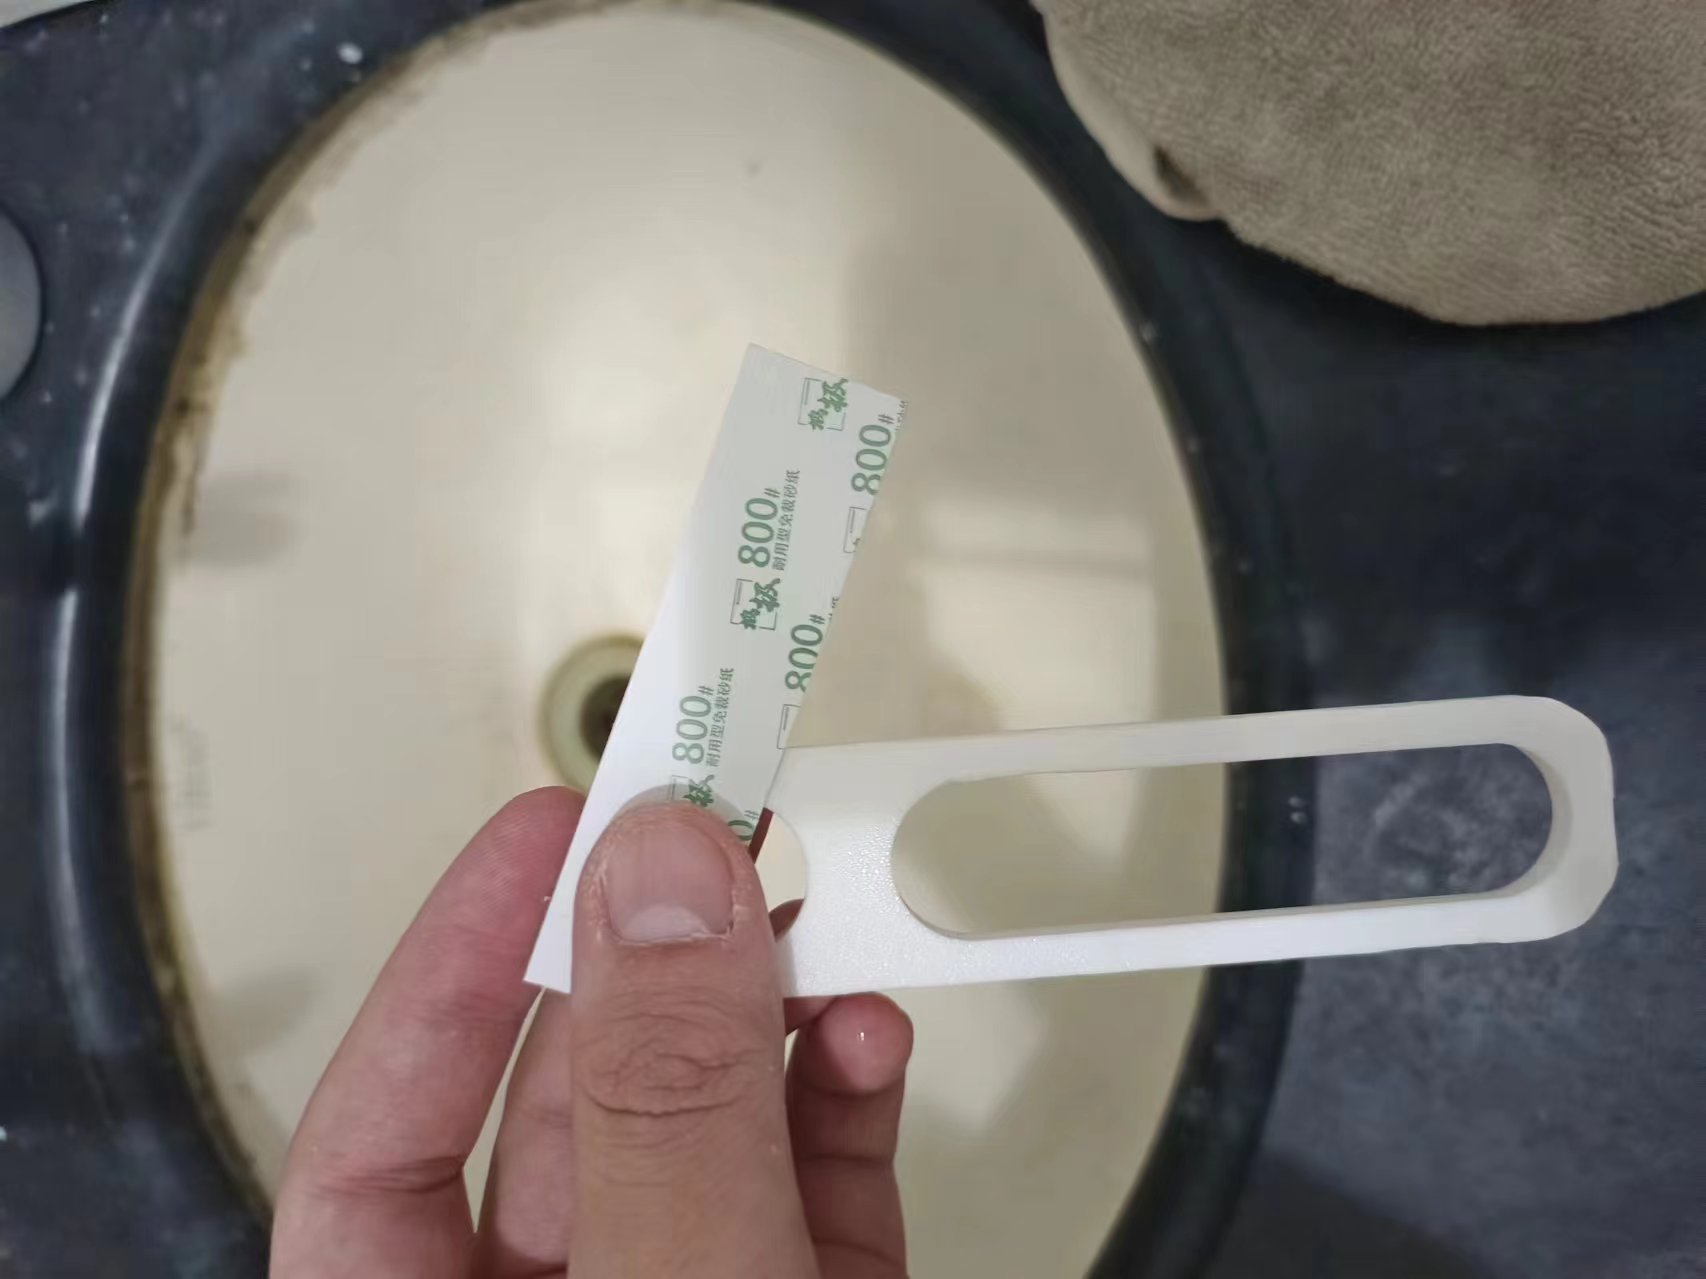
3.800 mesh refinement
4.Surface painting of gas masks and spray cans

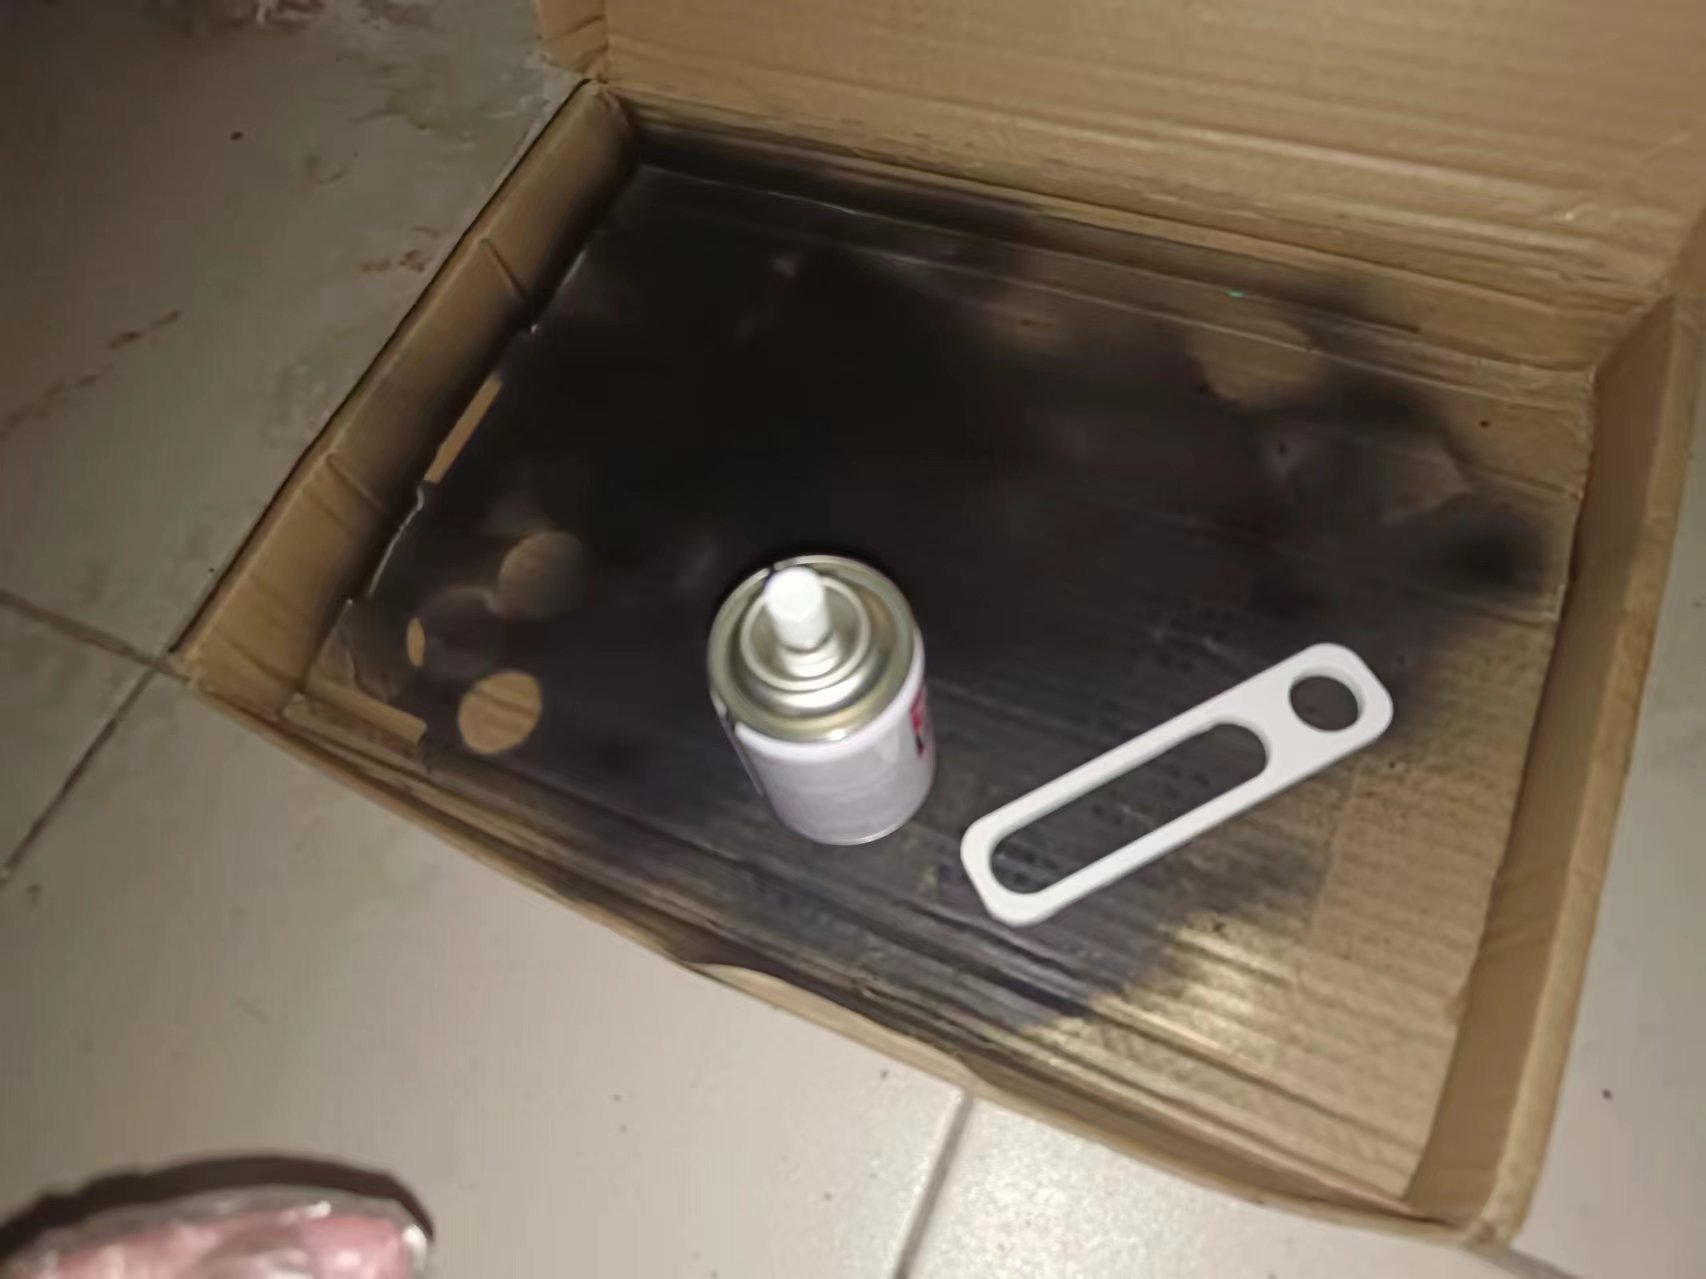
5.Shake and spray paint twice in 15 minutes and finally dry
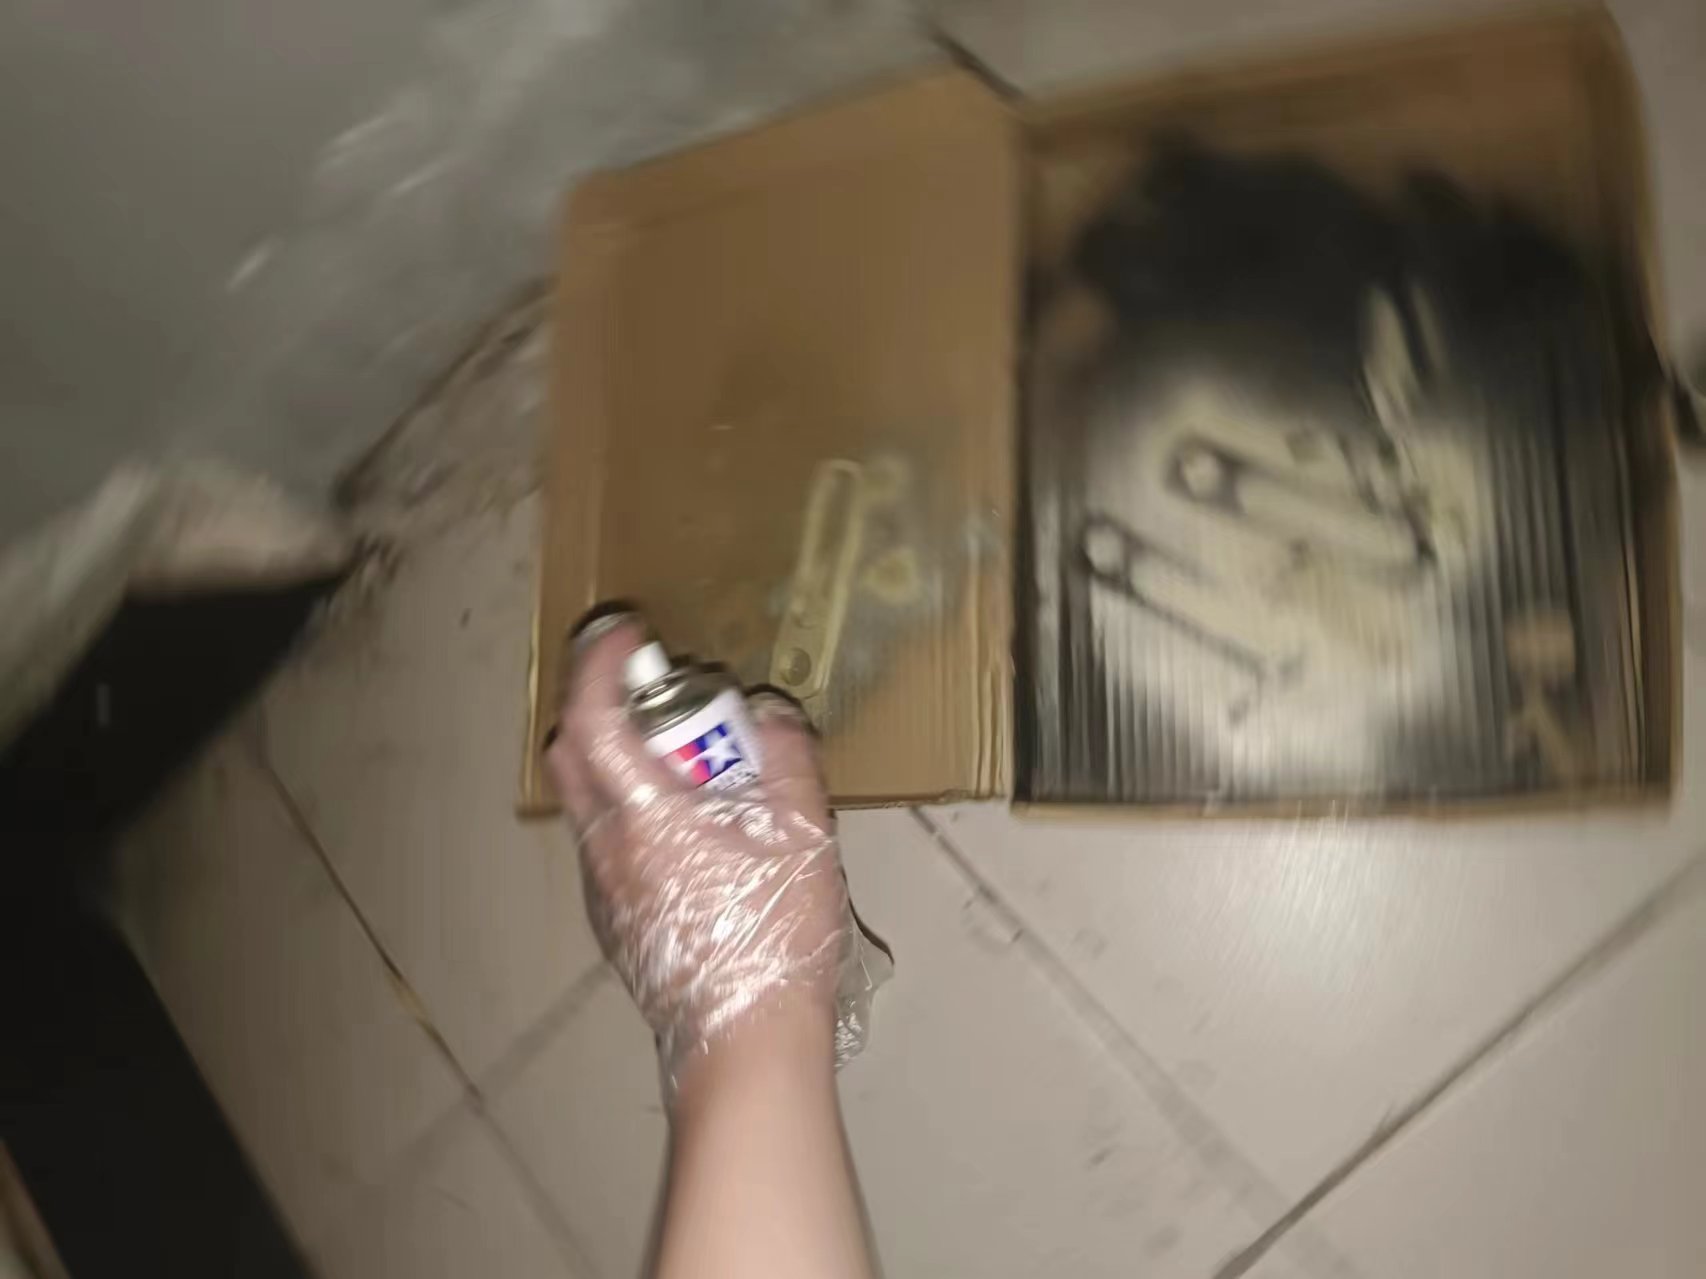
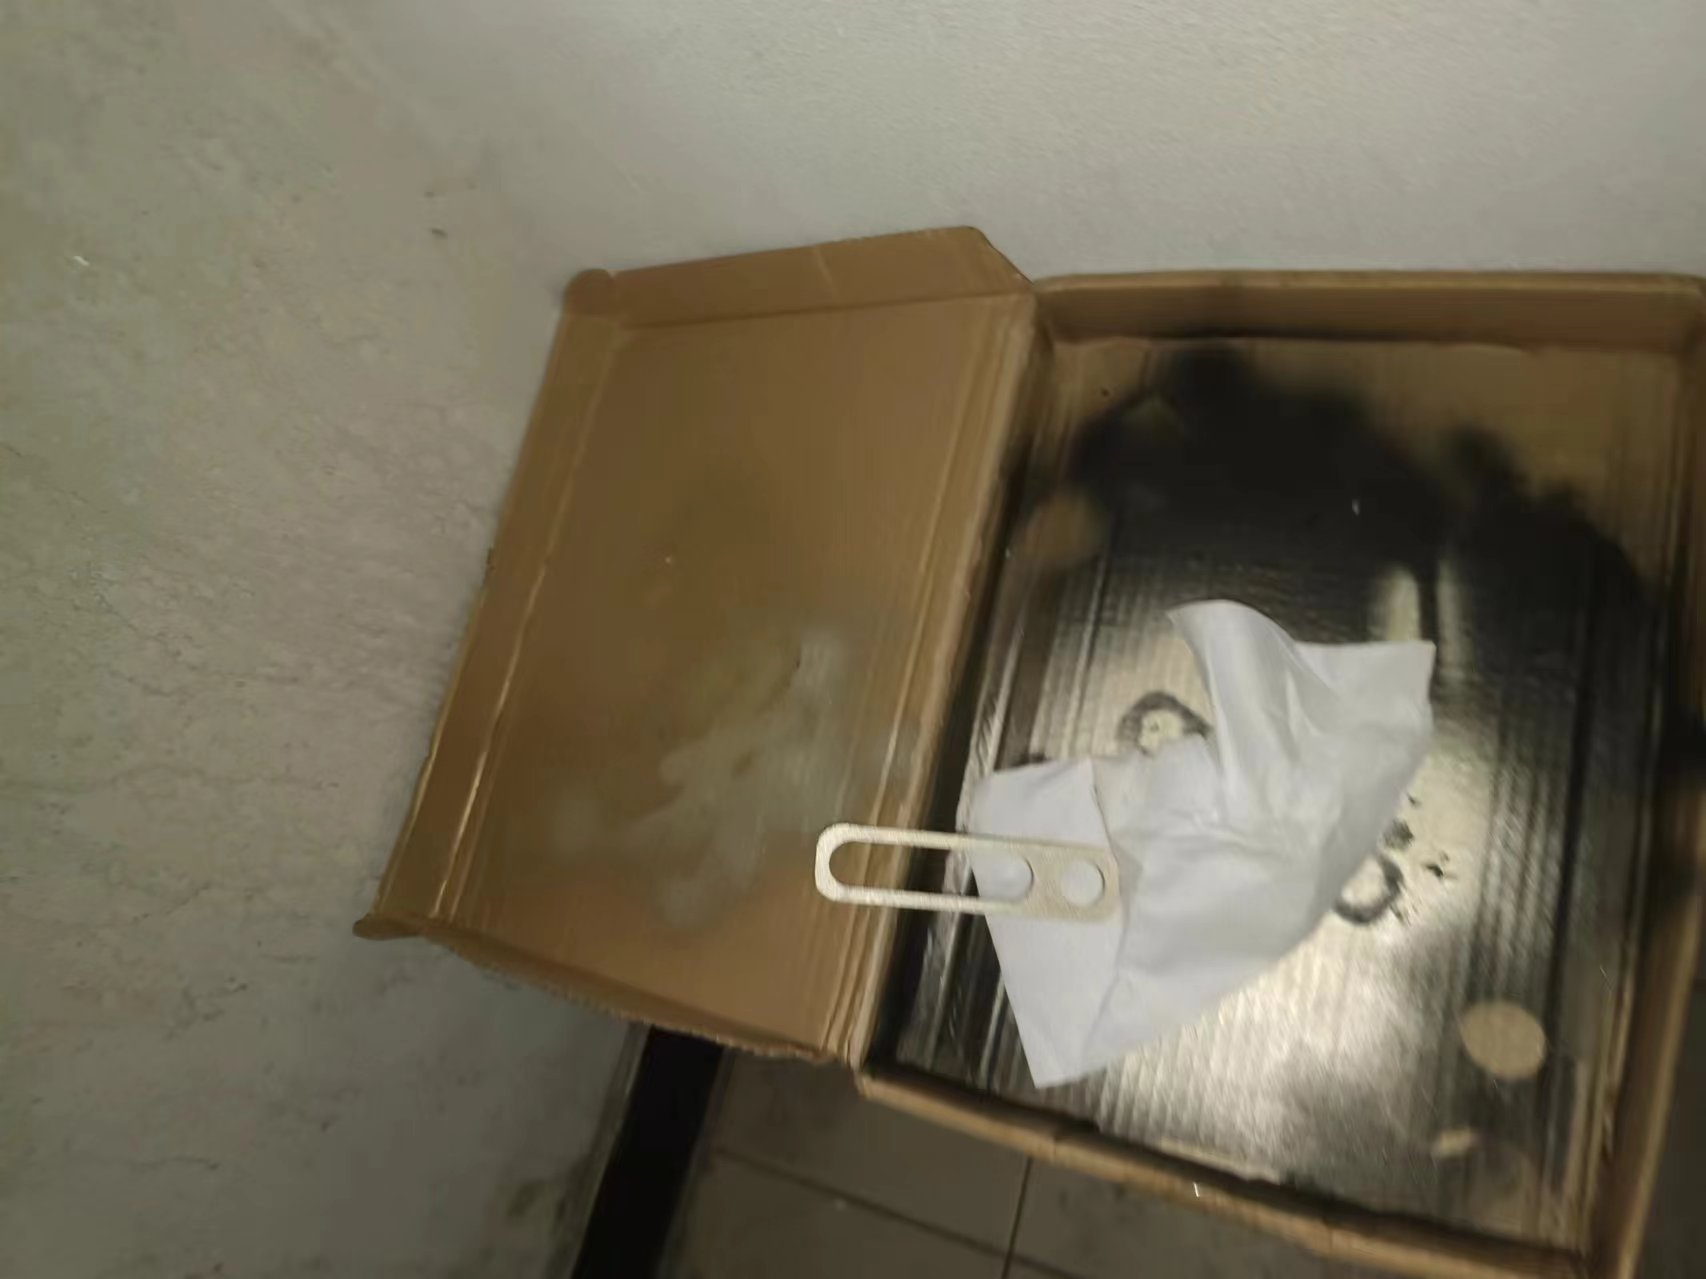
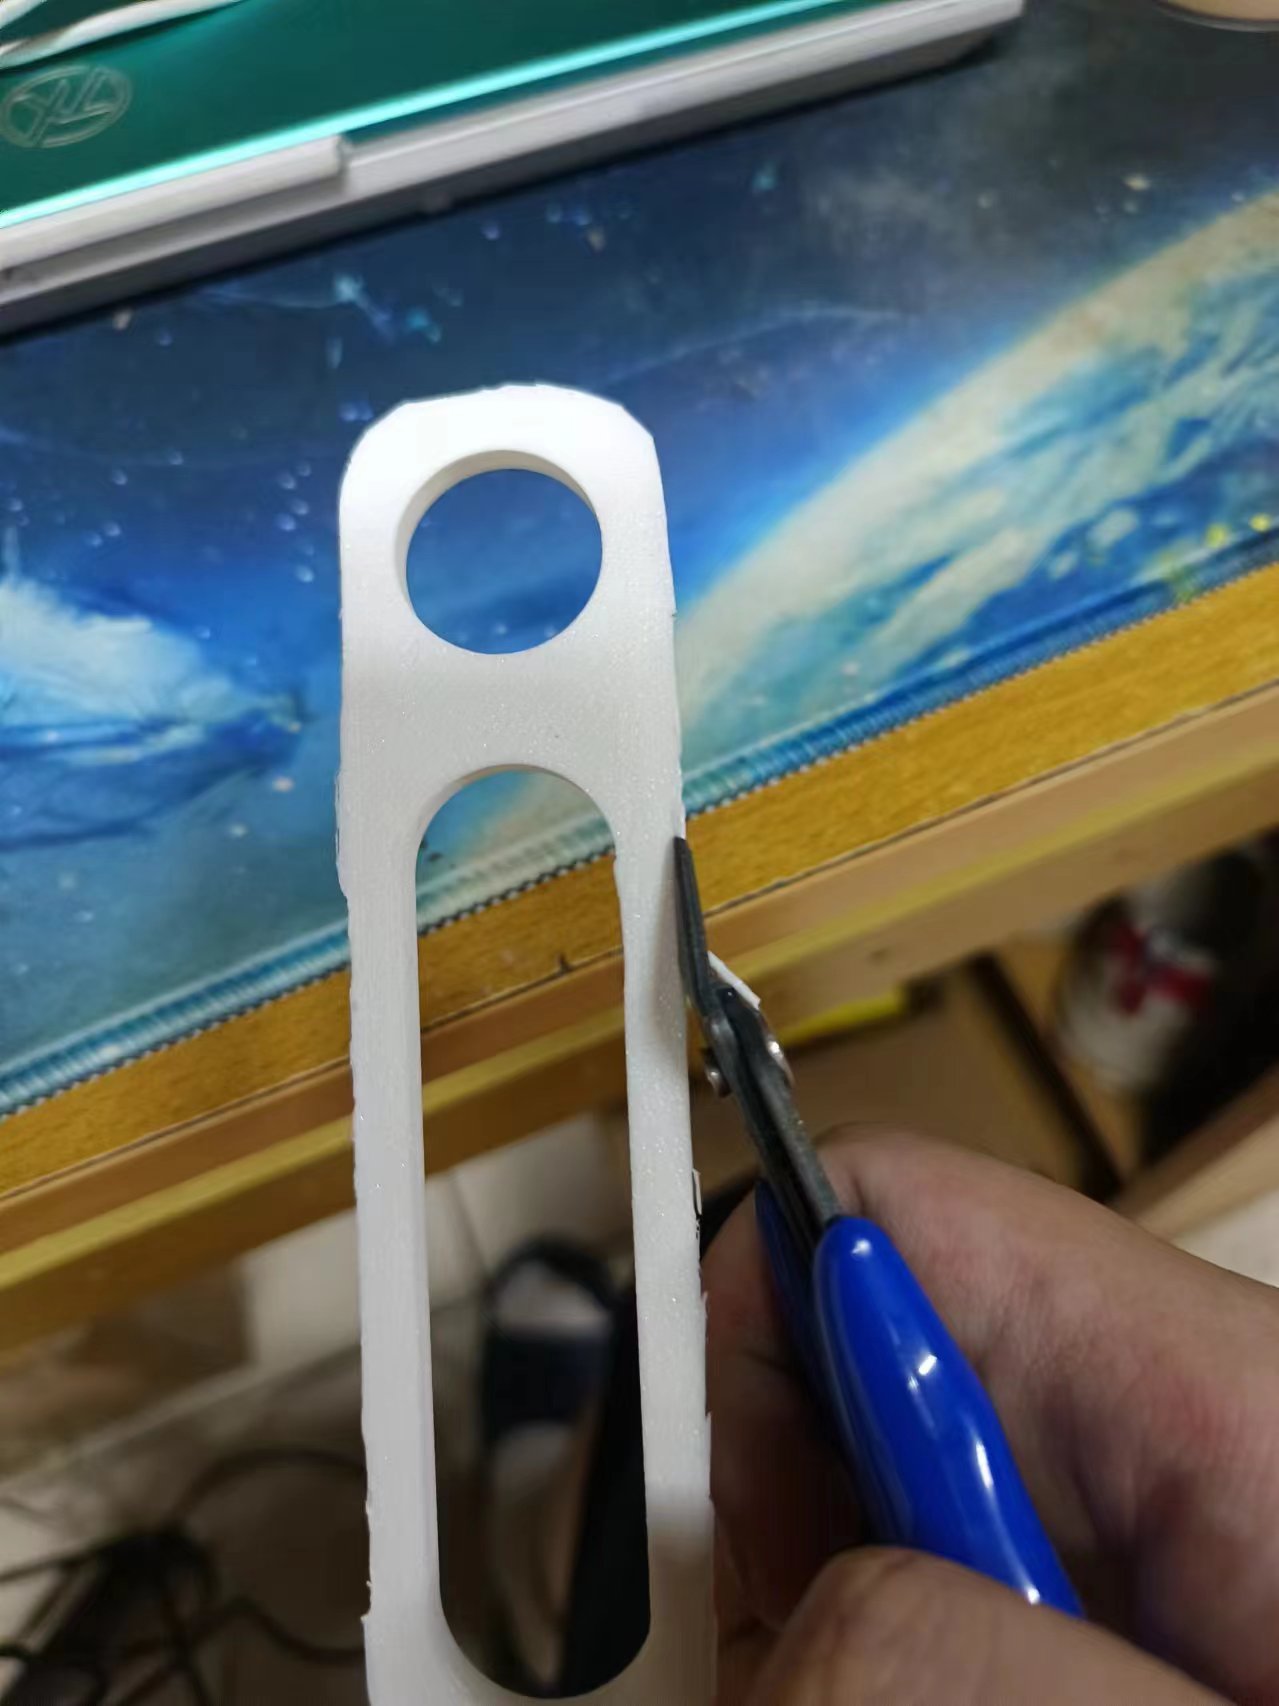
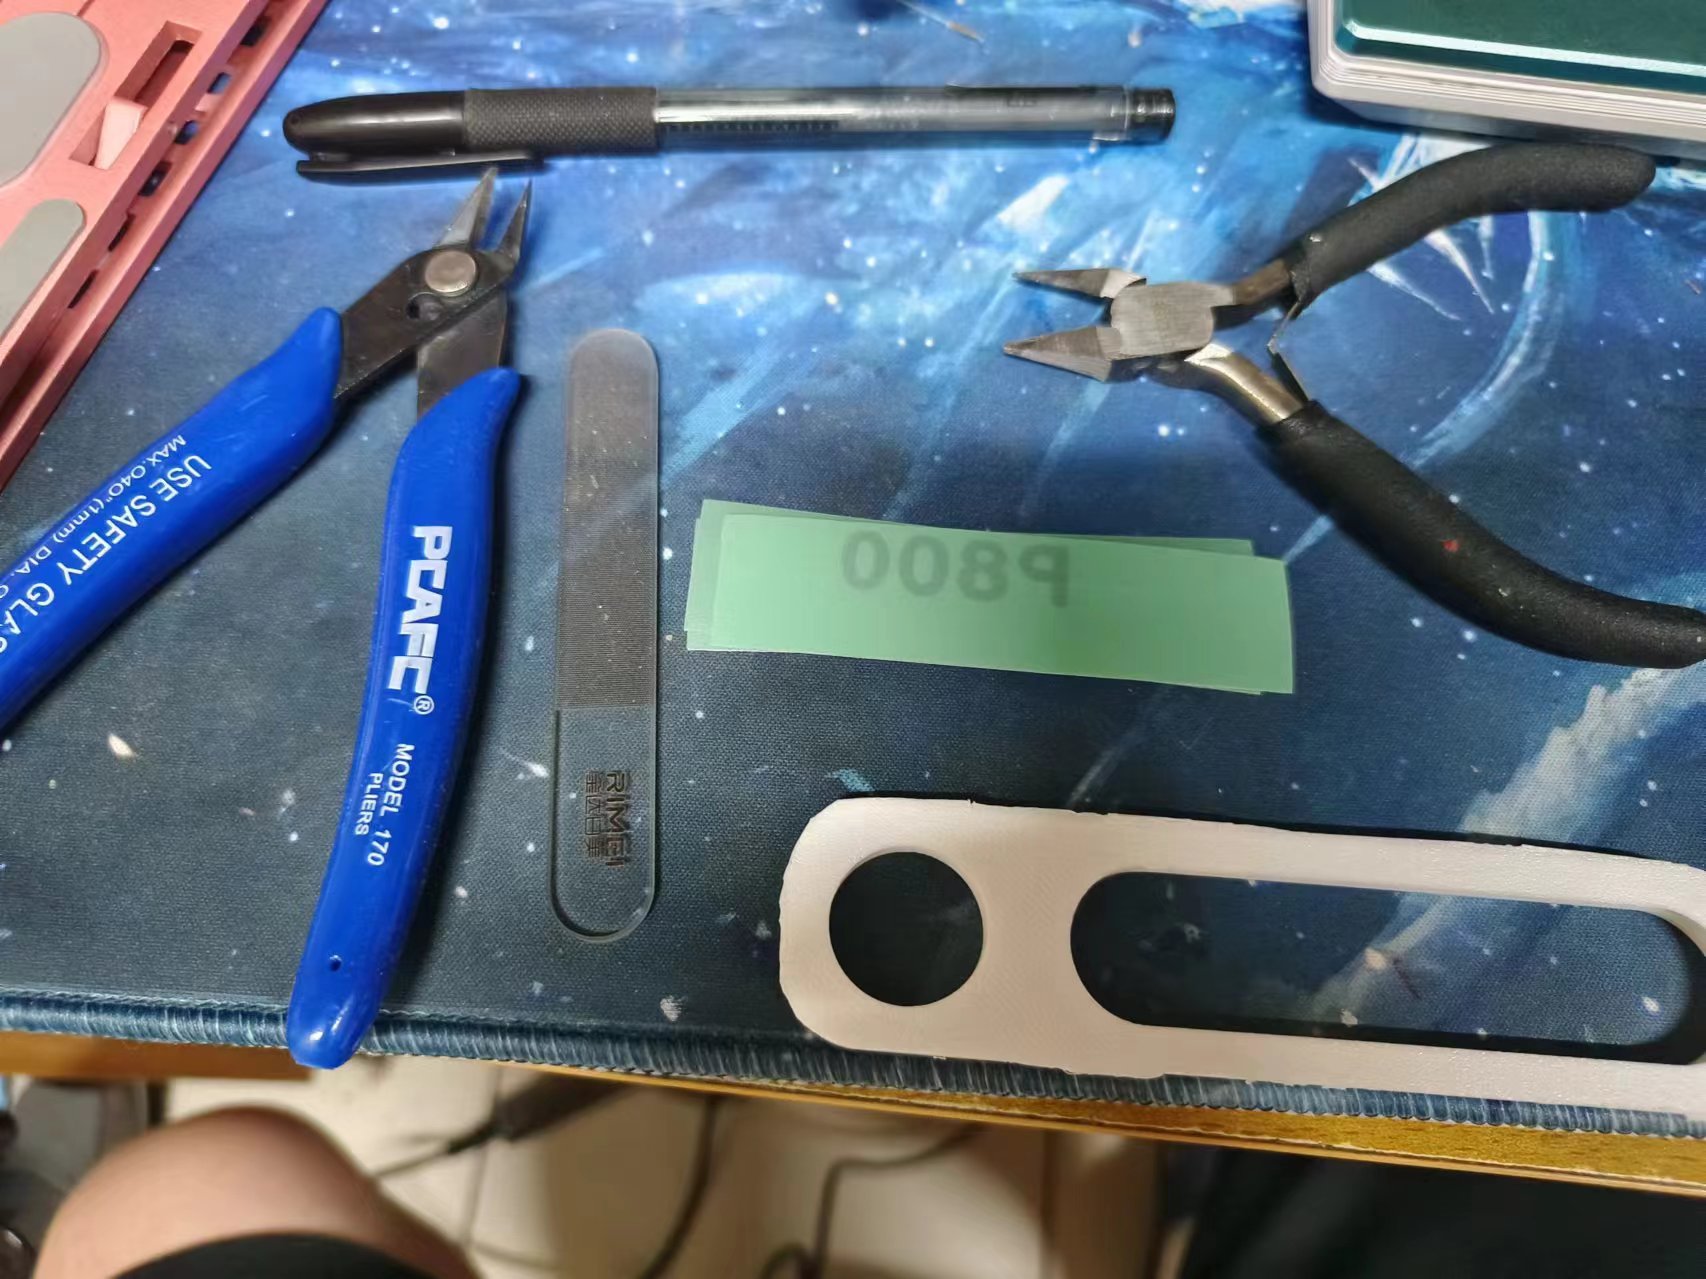
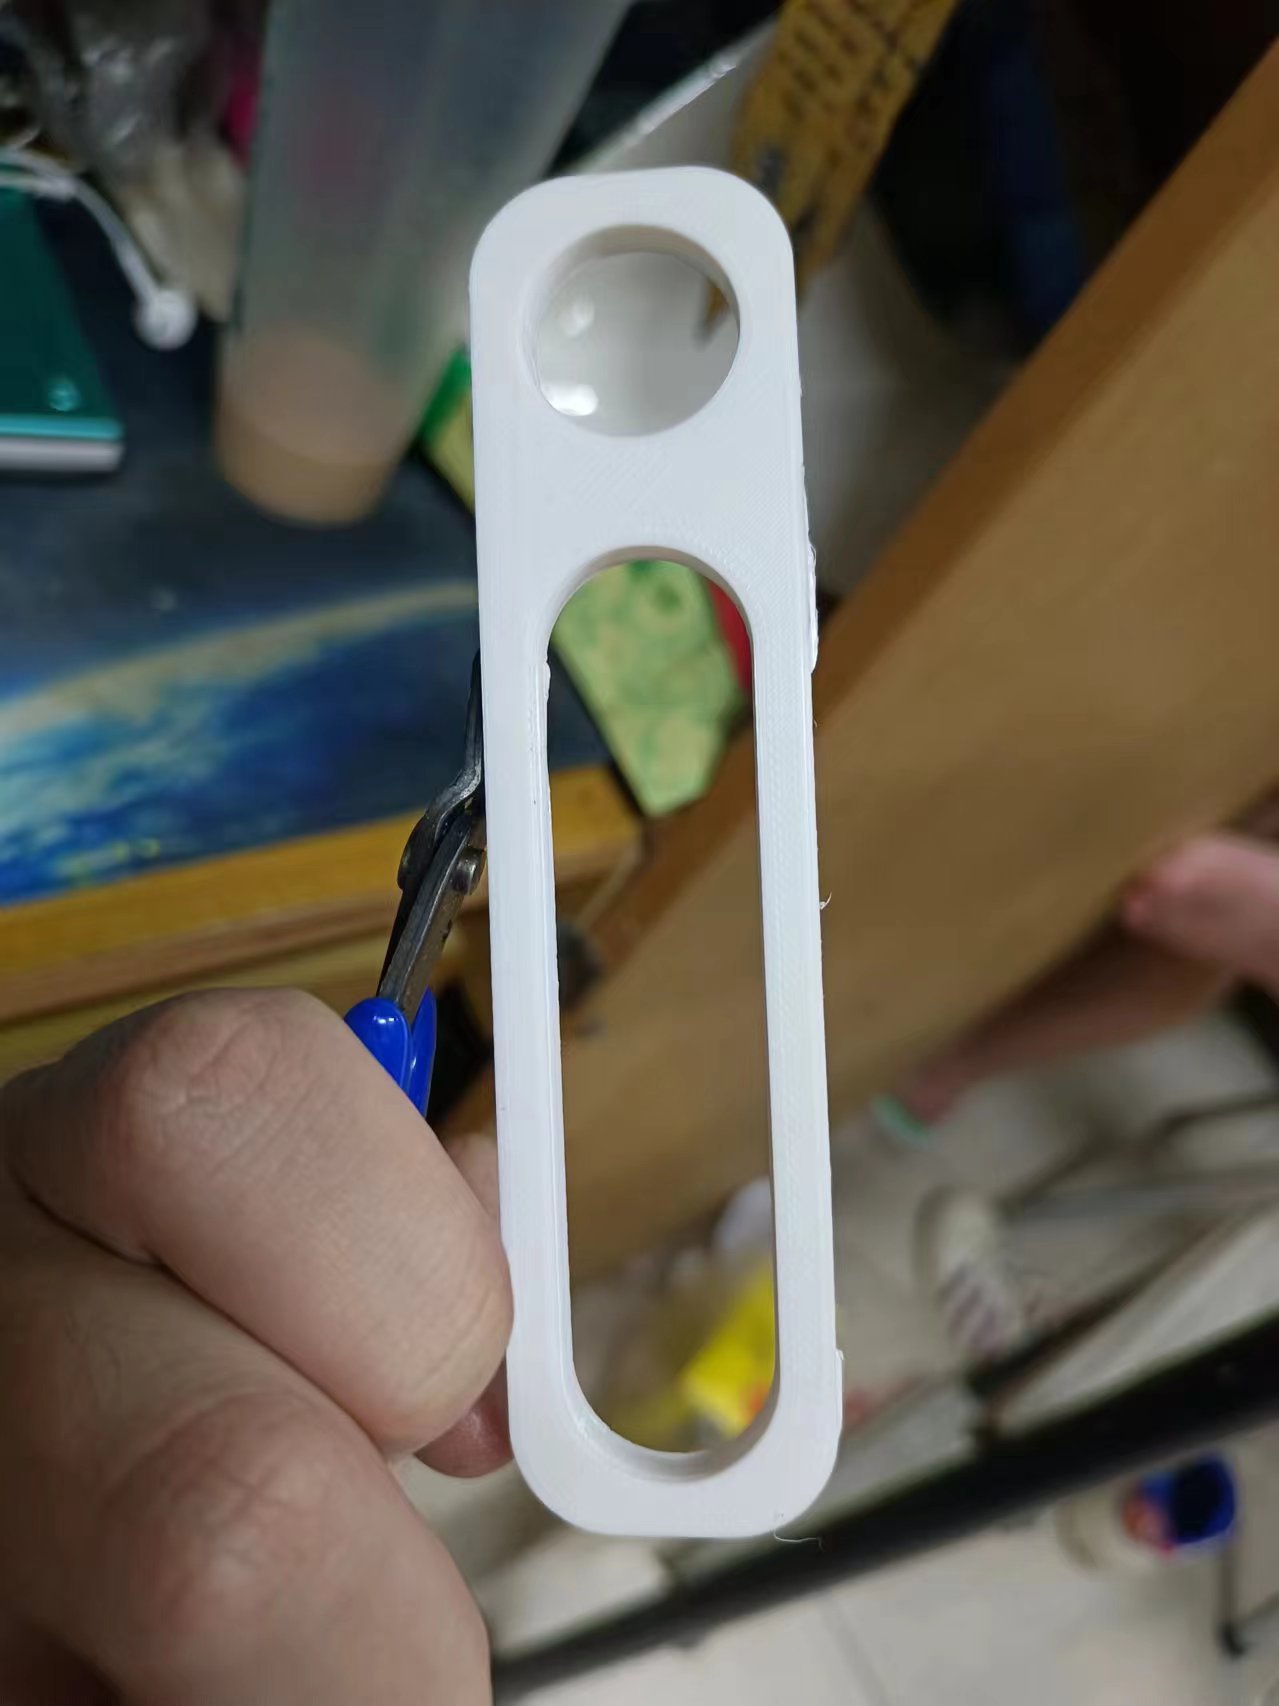
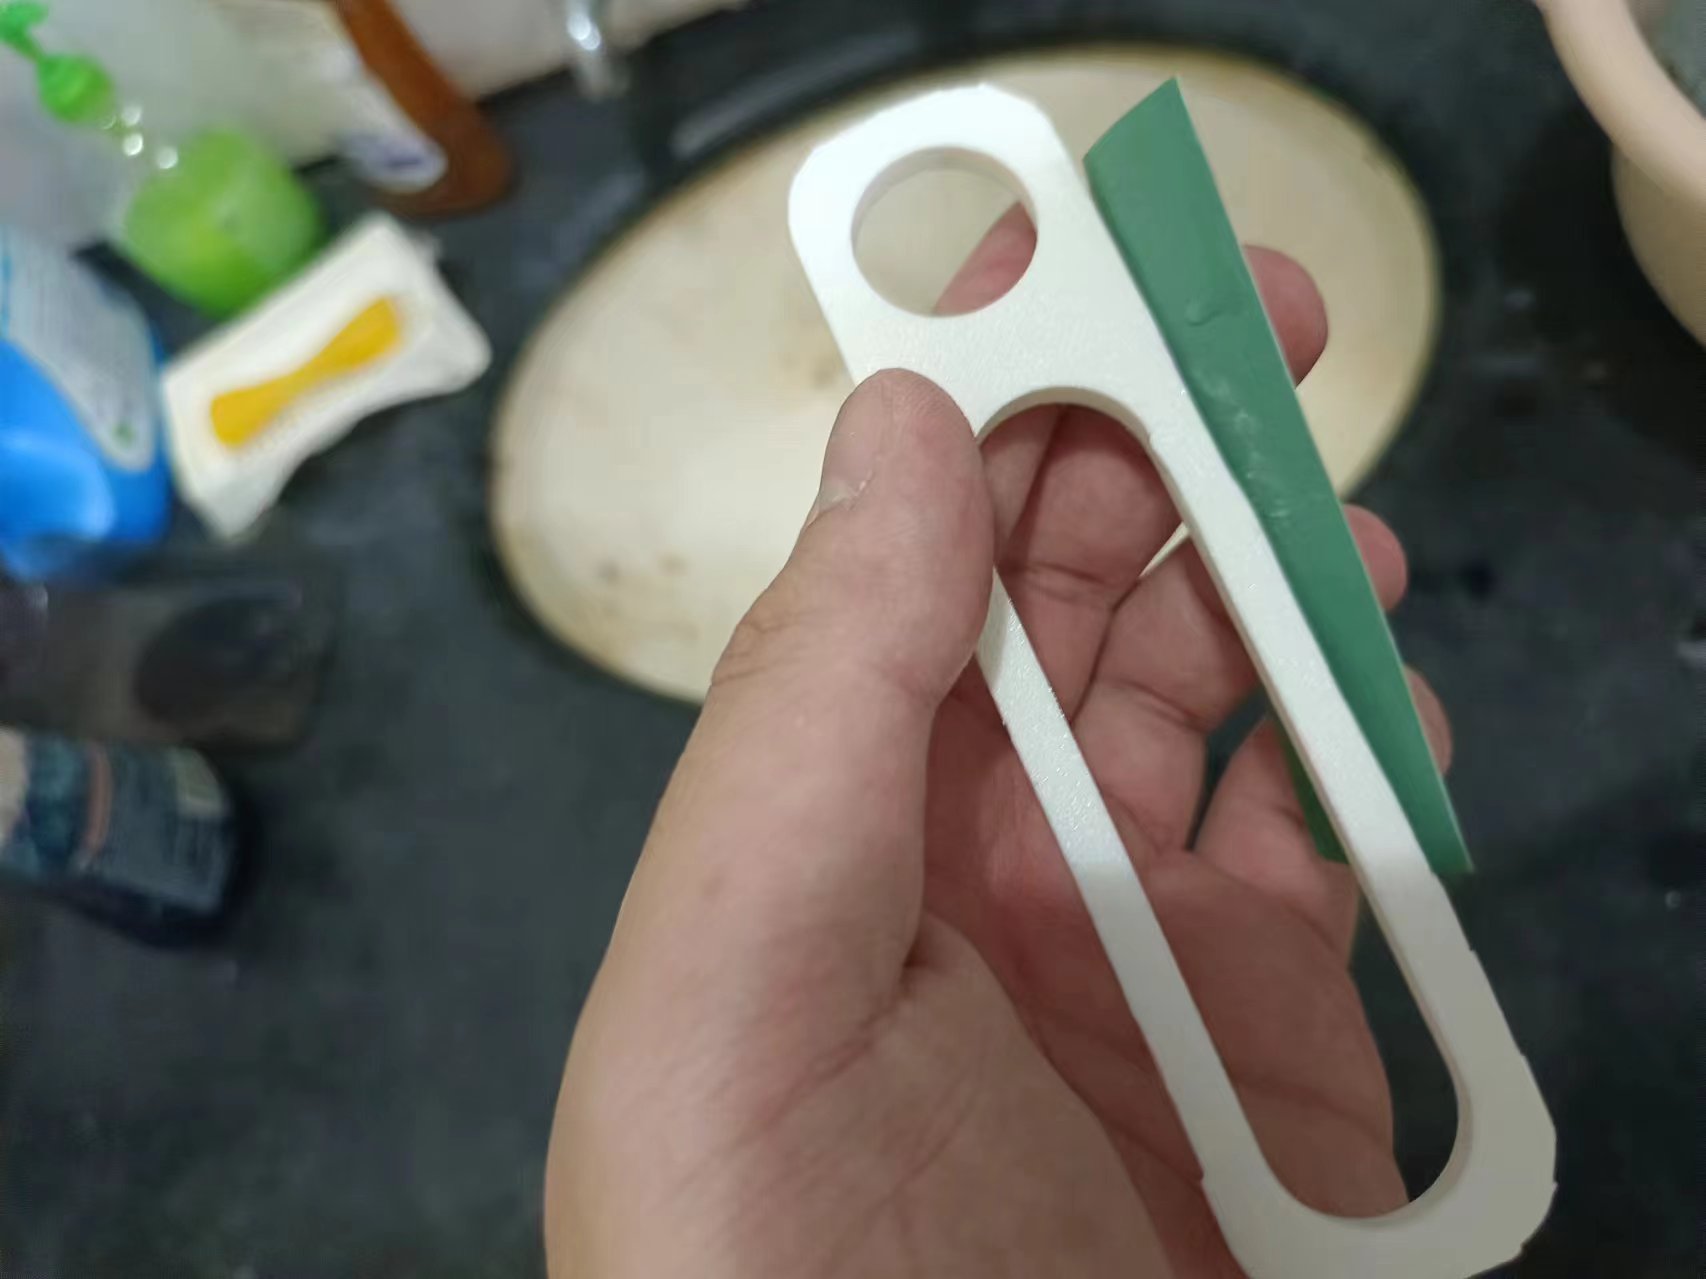
8.Postprocess the surface
1.Pliers: Remove the support and skirt
Slickets and sandpaper: polishing